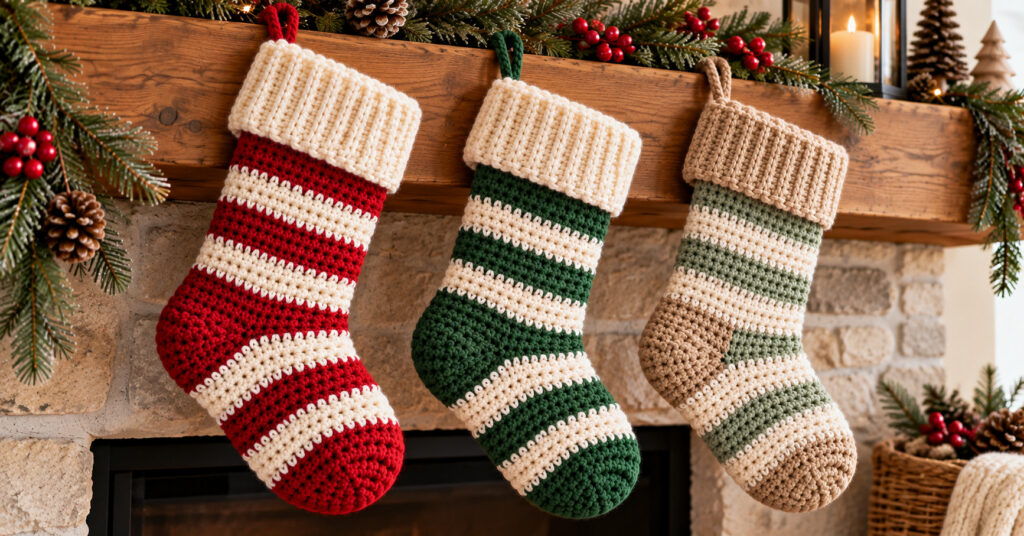
There is something special about handmade Christmas decorations. They bring warmth into a home, and even a simple crochet project can become part of your holiday traditions for years to come.
A crochet Christmas stocking is a lovely project to make during the festive season. Hang it by the fireplace, use it to decorate a Christmas tree, fill it with small gifts, or create a matching set for your family.
In this guide, you will learn how to plan and make a cozy striped crochet stocking, choose the right yarn, understand the basic stitches, and finish your project with a neat hanging loop. The design uses classic Christmas colors and simple crochet techniques, making it a great project for anyone who wants to practice their skills.
Why Make a Crochet Christmas Stocking?
Crochet stockings are more than holiday decorations. They are personal, reusable, and easy to customize.
You can make a traditional red-and-white stocking, choose neutral colors for a Scandinavian look, or use leftover yarn to create a colorful design. Handmade stockings also make thoughtful gifts for friends, family members, and anyone who appreciates a little handmade charm.
Here are a few reasons to try this project:
- Beginner-friendly techniques: Practice single crochet, chains, and simple decreases.
- Customizable colors: Choose shades that match your Christmas decorations.
- Reusable holiday decor: Store your stocking carefully and bring it out every year.
- Personal gift idea: Add a name tag, decorative bow, or small crocheted detail.
The best part is that you do not need expensive supplies to get started.
Materials You Will Need
Before you begin, gather your crochet supplies. Having everything ready will make the project easier and more enjoyable.
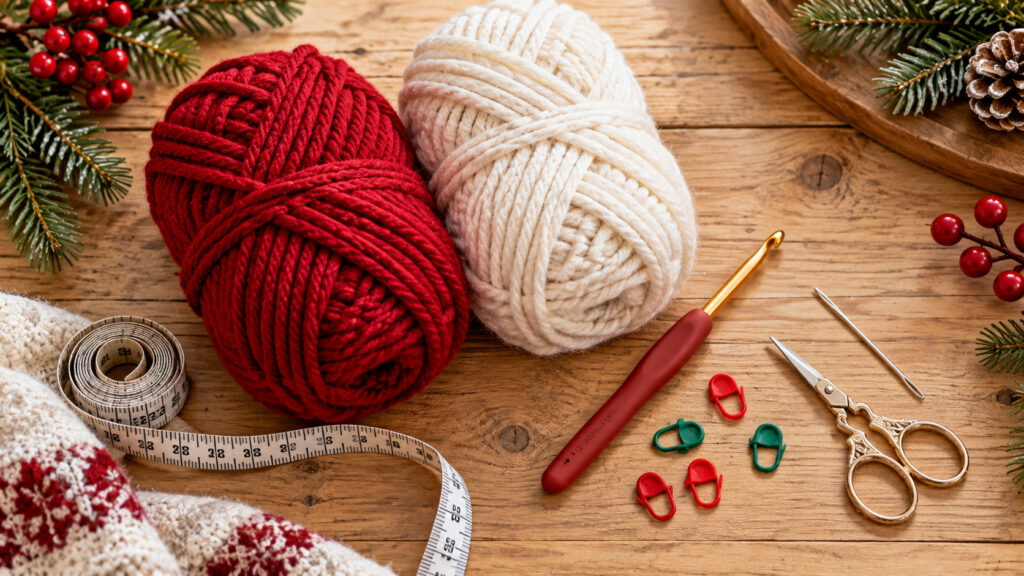
- Medium-weight or chunky yarn in red and cream.
- A crochet hook suitable for your chosen yarn.
- Scissors.
- A yarn needle for weaving in loose ends.
- Stitch markers to mark the beginning of rounds.
- A measuring tape to check the finished dimensions.
For a traditional Christmas look, red and white are a lovely combination. You can also use forest green, burgundy, beige, or soft sage.
Choosing the right yarn: A smooth yarn is usually easier for beginners because the stitches are easy to see. Chenille yarn creates a plush finish, but its fuzzy texture can make it harder to identify individual stitches. If this is your first crochet stocking, consider practicing with a smooth yarn before switching to a fluffy one.
Skill Level and Finished Size
This project is suitable for confident beginners who already know how to make a chain and single crochet stitch.
The finished size will depend on your yarn, hook, tension, and the shape you choose for the heel and toe. Before starting, decide whether you want a small stocking for tree decorations or a larger stocking for hanging and filling with lightweight gifts.
Related : Easy Crochet Christmas Tree Ornament Pattern for Beginners
For a consistent result, crochet a small gauge swatch using your chosen yarn and hook. Measure it without stretching, and adjust your hook size if your stitches are much tighter or looser than expected.
Keep in mind that a decorative crochet stocking is not automatically suitable for heavy gifts. If you plan to fill it, reinforce the hanging loop and seams.
Crochet Abbreviations
Most beginner crochet patterns use a few common abbreviations. Here are the terms you may see in a stocking pattern:
- ch: Chain
- sc: Single crochet
- sl st: Slip stitch
- inc: Increase, usually making two stitches in one stitch
- dec: Decrease, combining stitches to reduce the stitch count
- st / sts: Stitch / stitches
- rep: Repeat
- FO: Fasten off
If you are following a US crochet pattern, remember that US stitch names can differ from UK terminology. Check the pattern’s terminology before beginning.
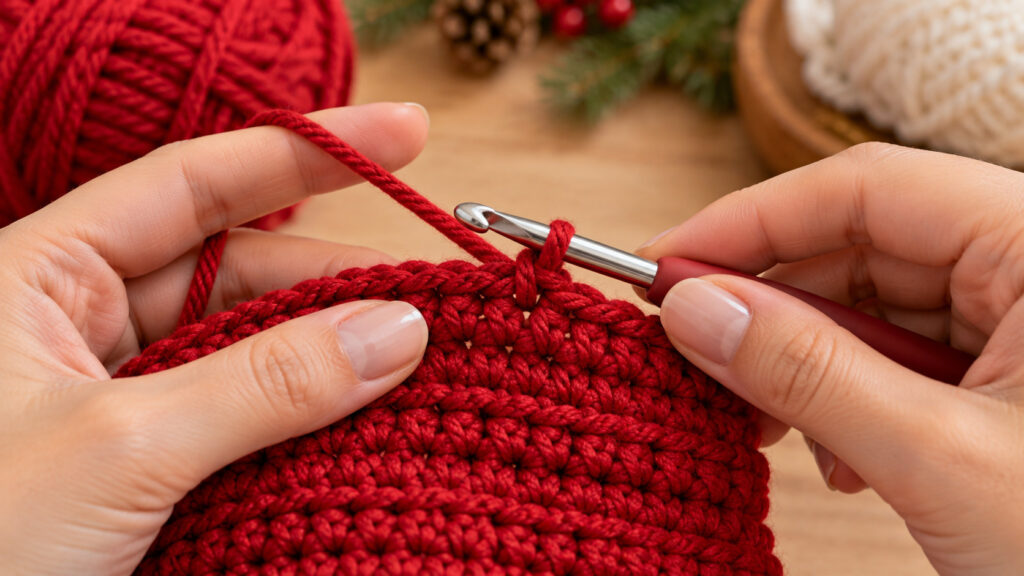
How to Make a Crochet Christmas Stocking
A stocking generally has five main sections: the cuff, the leg, the heel, the foot, and the toe. Working through these sections separately makes the construction easier to understand.
Important: The steps below explain the construction and finishing process. They are not a fully tested, stitch-by-stitch pattern with verified stitch counts. Before publishing a complete free pattern, make a sample and record the exact counts, row or round numbers, and measurements for your chosen design.
Step 1: Crochet the Cuff
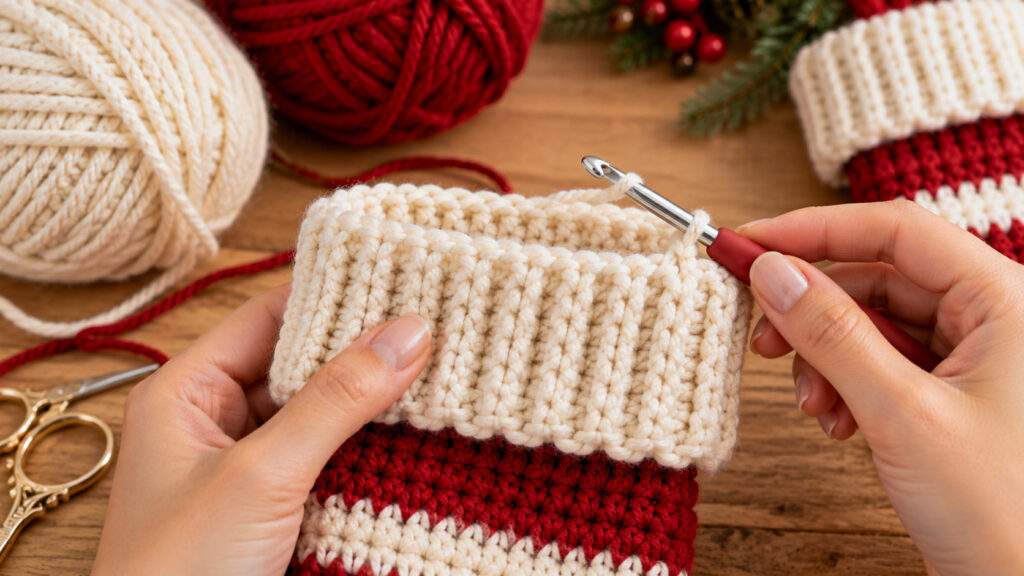
The cuff is the folded section at the top of the stocking. Cream or white yarn creates a classic winter look, while a contrasting color can give the stocking a more modern style.
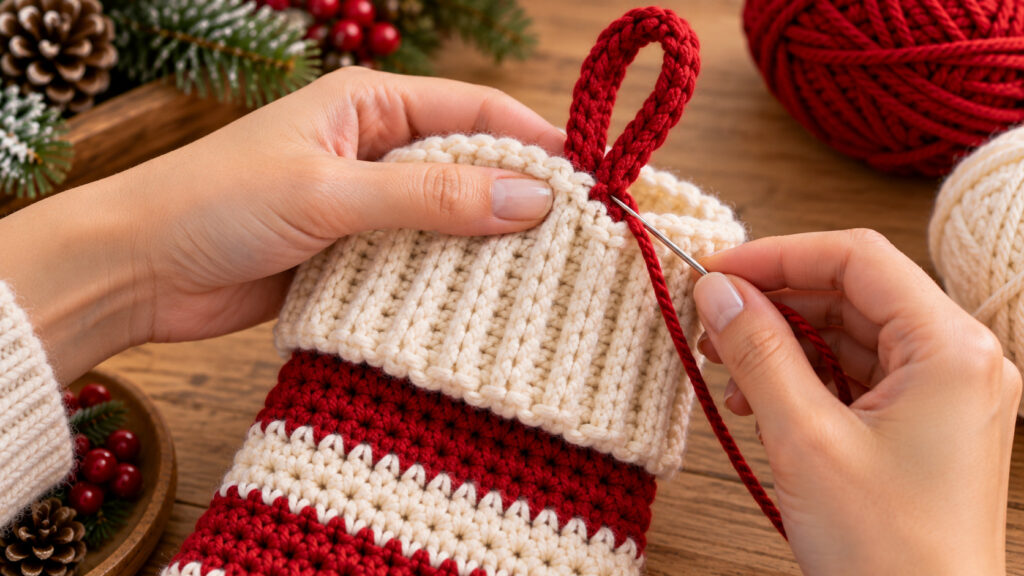
You can create a ribbed cuff by working rows of single crochet through the back loop only. This produces a textured fabric with visible ridges.
Once the cuff reaches your desired width, join its ends to form a band. Keep the seam neat, because it will be visible when the stocking is hanging.
Step 2: Work the Leg
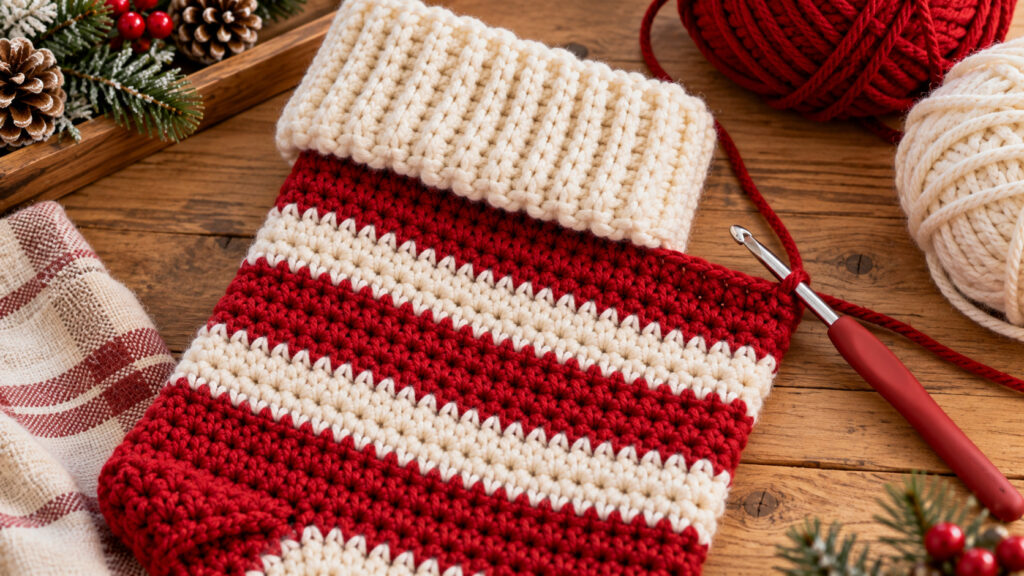
The leg is the long section directly below the cuff. Attach your main yarn and work the body in rounds or rows according to your chosen pattern.
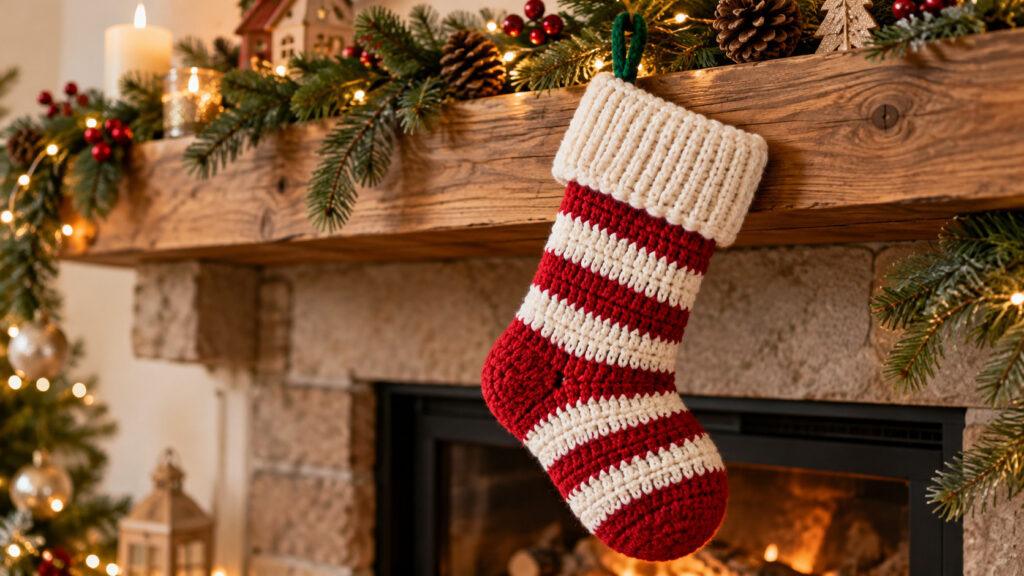
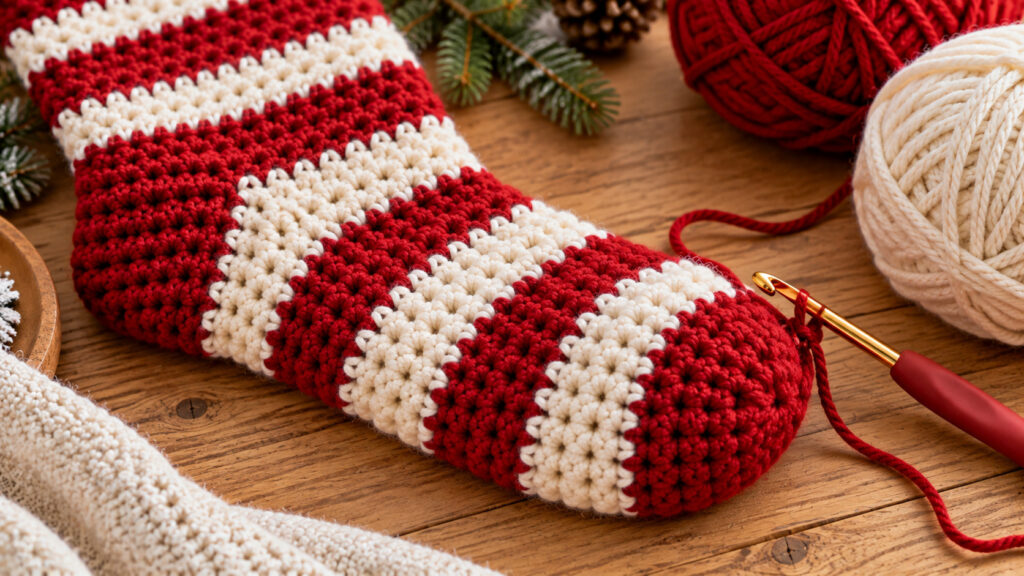
For a striped stocking, alternate red and cream yarn at regular intervals. Carrying the unused yarn neatly or fastening it off at each color change can help keep the inside tidy.
Count your stitches regularly. If the stitch count changes unexpectedly, the stocking may become wider or narrower than intended.
For a simple, coordinated design, use the same number of rounds for each stripe and weave in loose ends as you go.
Step 3: Shape the Heel
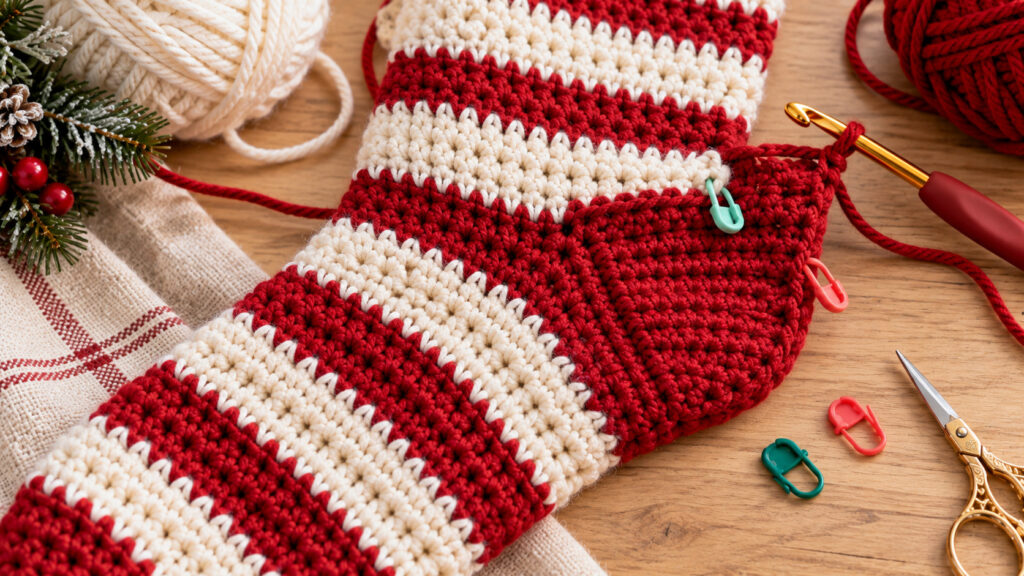
The heel gives the stocking its familiar foot-like shape. It can be constructed in different ways, depending on whether the stocking is worked in the round, worked flat, or assembled from separate pieces.
For a traditional stocking, the heel needs enough room to create a clear change of direction between the leg and the foot. Some patterns use a heel flap and turn, while others use an afterthought heel.
Choose one construction method and follow it consistently. If you are designing your own pattern, check the fit against a paper outline or a sample before continuing. The heel should look balanced rather than sharply pinched.
Step 4: Crochet the Foot and Toe
After shaping the heel, continue working the foot toward the toe. Keep the stripes aligned with the rest of the stocking for a clean, coordinated appearance.
The toe is usually shaped with gradual decreases. These reduce the circumference of the fabric and create a rounded or slightly pointed end.
Related : 6 Crochet Butterfly Bolero Free Patterns to Try
Try the stocking against your intended dimensions as you work. If you are using a pattern with specified stitch counts, check each decrease round carefully. Finish by closing the remaining opening securely and weaving in the yarn tail.
Step 5: Add the Hanging Loop
A hanging loop makes your stocking easy to display on a mantel, wall hook, or decorative ladder.
Use a sturdy strand of matching yarn to make a chain loop, then secure it firmly to the inside edge of the cuff. Weave the ends through several stitches rather than attaching the loop with a single loose knot.
If you want to hang a heavier stocking, reinforce the attachment point and avoid relying on a delicate decorative loop.
You can leave the stocking simple or add a small bow, crocheted holly leaves, or a personalized name tag.
Christmas Stocking Color and Decorating Ideas
One of the nicest things about making your own stocking is the freedom to personalize it.
Here are a few ideas to try:
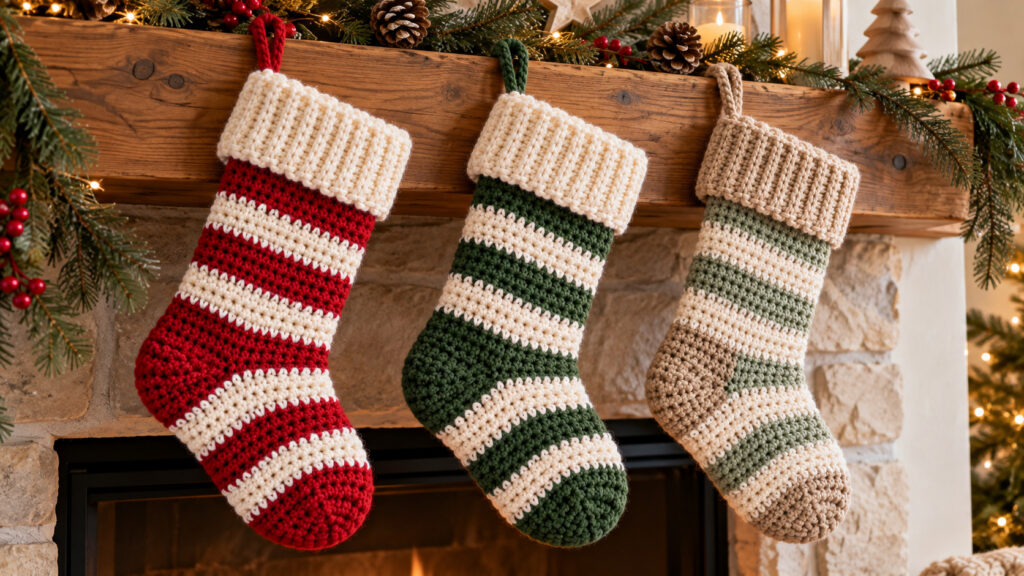
- Traditional Christmas: Deep red, creamy white, and forest green.
- Scandinavian style: Cream, beige, and muted sage.
- Rustic farmhouse: Burgundy, natural ivory, and wooden accents.
- Modern winter: White, charcoal gray, and a small metallic detail.
- Playful holiday style: Bright stripes, colorful pom-poms, and contrasting cuffs.
If you want a more decorative finish, add small crocheted stars or a bow. Keep embellishments securely attached, especially if the stocking will be used around young children.
Common Crochet Stocking Mistakes and How to Fix Them
Even experienced crocheters sometimes need to undo a few stitches. These simple checks can help you avoid common problems.
1. Uneven stripes
Count the rounds in each color section and change colors at consistent points. This helps the stripes line up neatly.
2. A stocking that is too tight
Your hook may be too small, or your tension may be too firm. Make a gauge swatch before committing to the full project.
3. A heel that looks misshapen
Check the heel construction and stitch counts. The heel needs enough fabric to create a natural transition into the foot.
4. Gaps between stitches
Try using a slightly smaller hook if the fabric is too open, but make sure the stocking remains flexible.
5. Loose finishing ends
Use a yarn needle to weave the ends through several stitches in different directions. Trim only after the yarn is secure.
6. A weak hanging loop
Reinforce the attachment point with several passes of yarn, especially if you plan to place gifts inside the stocking.
Frequently Asked Questions
Is a crochet Christmas stocking suitable for beginners?
Yes. A simple stocking can be a good beginner project if you already know how to chain and make single crochet stitches. Heel and toe shaping may require a little extra practice.
What yarn is best for a crochet Christmas stocking?
Smooth acrylic or a soft acrylic blend is a practical choice because the stitches are easy to see and the yarn is widely available. Chenille creates a plush finish, while cotton can produce a more structured fabric.
How long does it take to crochet a Christmas stocking?
The time depends on the size, yarn thickness, stitch pattern, and your experience. A small decorative stocking may take a few hours, while a larger stocking with detailed shaping can take longer.
Can I customize the size?
Yes. You can adjust the leg length, foot length, and yarn weight, but changing the size may also require adjustments to the heel, toe, and stitch counts.
Can crochet Christmas stockings be used as gifts?
Absolutely. They are lovely for small treats, gift cards, and lightweight presents. Make sure the seams and hanging loop are secure before filling the stocking.
Final Thoughts
A handmade crochet Christmas stocking is a simple way to bring a little extra warmth to your holiday decorations. With your favorite yarn colors, careful stitch counting, and a few personal details, you can create a piece that feels unique to your home.
Take your time with the heel and toe, check your measurements as you go, and enjoy the process. Handmade decorations do not need to be perfect to become meaningful parts of your Christmas traditions.
If you enjoy seasonal crochet projects, explore more handmade holiday ideas on Crocht.online and find inspiration for your next cozy creation.