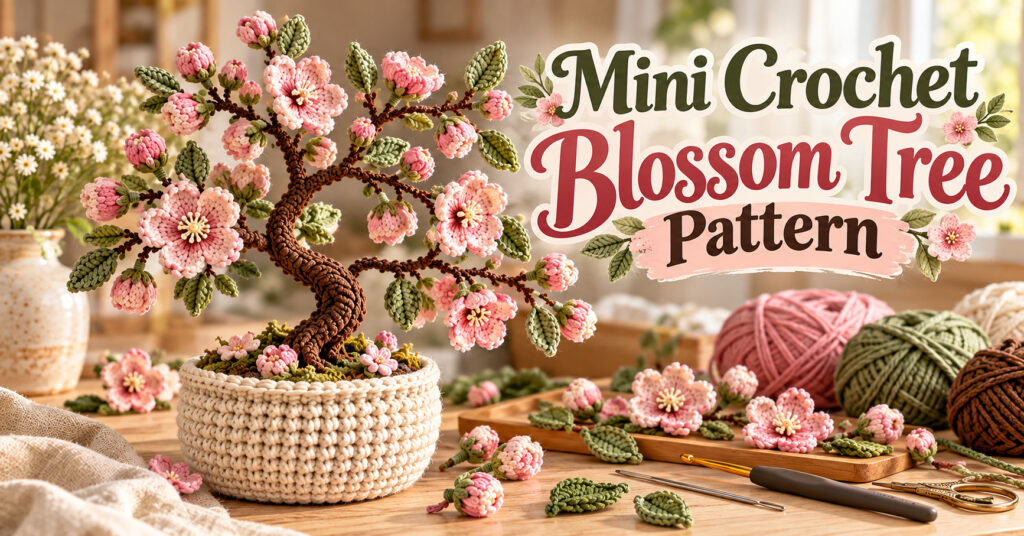
Some crochet projects are beautiful because of their colors, while others stand out because of the little details that make them feel special. A miniature crochet blossom tree combines both. With soft pink flowers, a naturally curved trunk, and a decorative pot, this handmade piece brings a touch of spring into any room.
Unlike traditional crochet accessories, a miniature blossom tree is designed to be displayed rather than worn or carried. It can sit on a bookshelf, brighten a desk, decorate a bedside table, or become a thoughtful handmade gift for someone who loves flowers and creative home decorations.
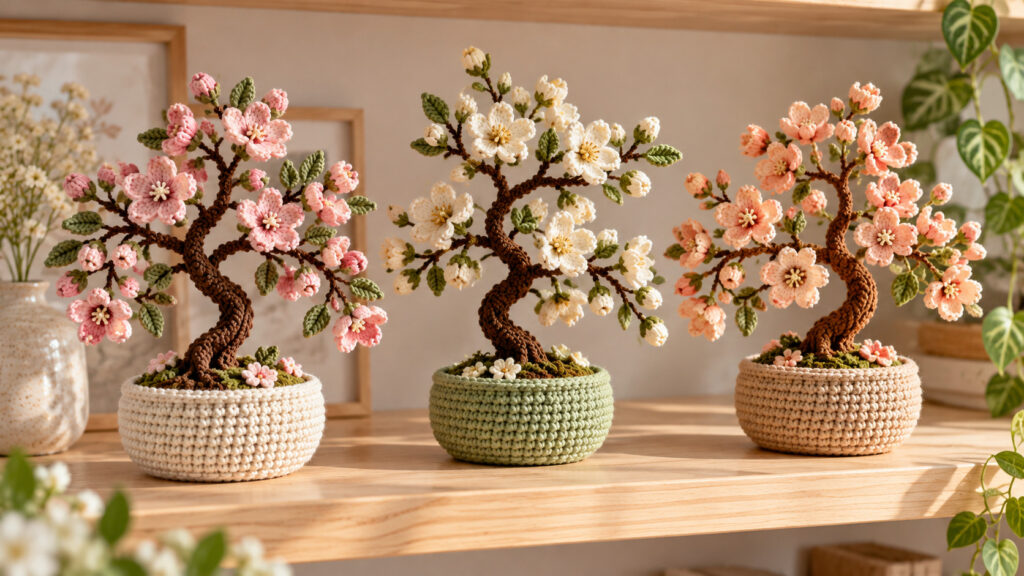
The best part is that you can personalize almost every element. Choose pale pink flowers for a soft romantic look, brighter shades for a cheerful display, or white blossoms for a simple and elegant finish.
In this guide, we will explore how to plan, crochet, assemble, and decorate your own miniature blossom tree. You will also find practical tips for shaping the branches, keeping the pot stable, and creating a finished piece that looks attractive from different angles.
What Is a Mini Crochet Blossom Tree?
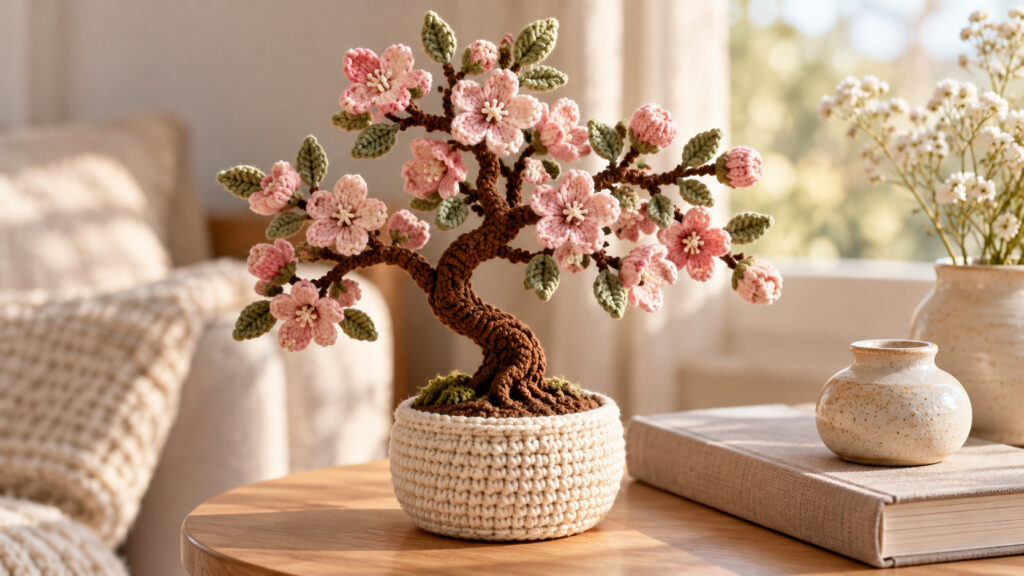
A mini crochet blossom tree is a decorative craft project inspired by flowering trees in spring. Instead of using real branches and flowers, the design recreates the trunk, foliage, and blossoms with yarn and crochet stitches.
The finished appearance depends on three main elements:
- The trunk and branches: These provide the tree’s shape and create a natural silhouette.
- The blossoms and leaves: These add color, texture, and visual interest.
- The decorative pot: This supports the arrangement and completes the miniature display.
Every tree can look slightly different. Some makers prefer a compact, rounded shape with flowers grouped closely together, while others enjoy longer branches with blossoms spread across the entire structure.
This project is particularly appealing because it can be adapted to different interior styles, from cozy cottage-inspired rooms to modern minimalist spaces.
Related : Easy Crochet Christmas Stocking Pattern for Beginners
Materials and Tools You Will Need
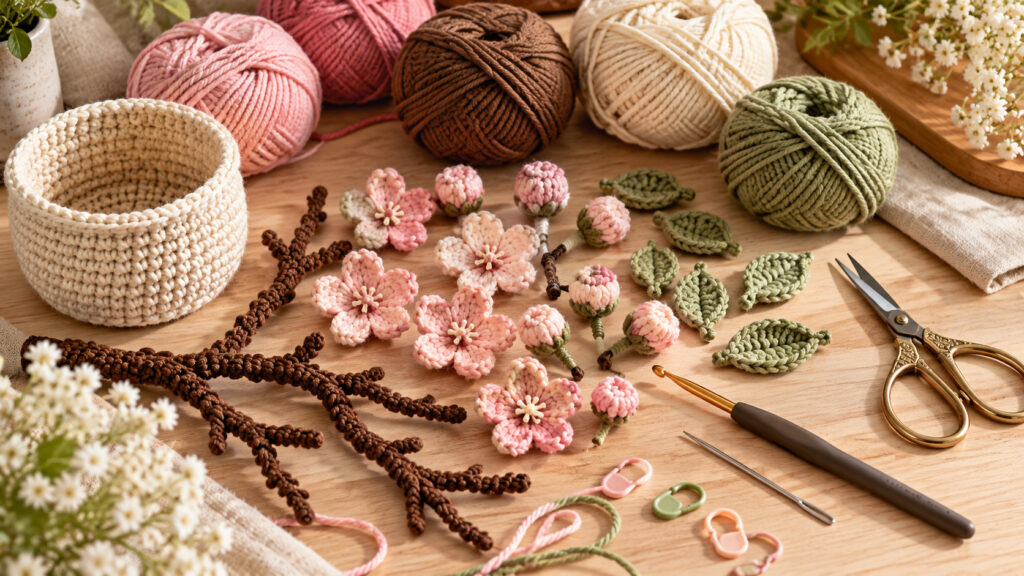
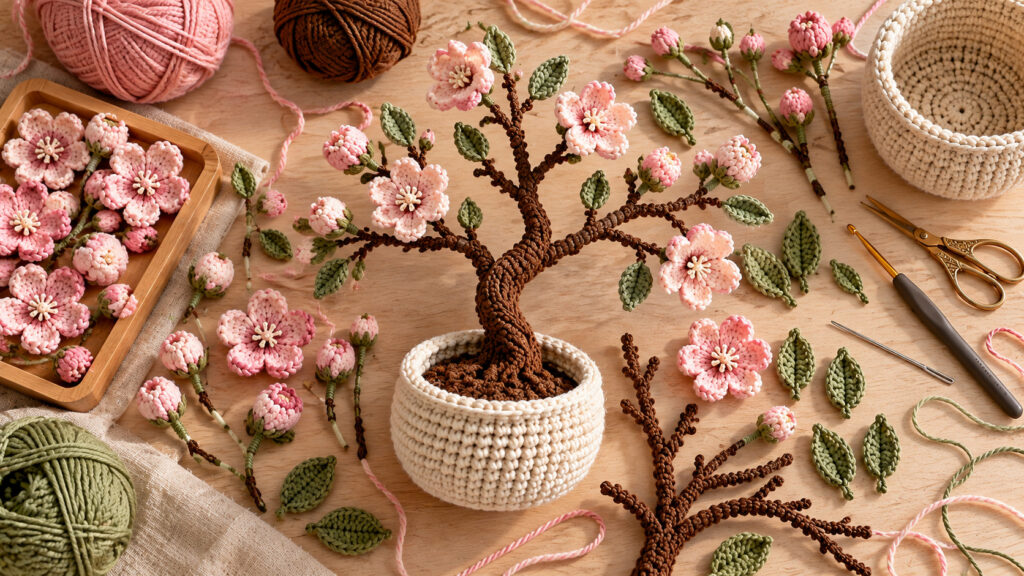
Before starting, gather your supplies and decide on the overall size and color scheme.
Yarn
Choose a smooth yarn that allows the stitches to remain visible.
- Brown yarn for the trunk and branches.
- Dusty pink, blush, or pale rose yarn for the flowers.
- Sage green yarn for small leaves.
- Cream, beige, or another neutral shade for the pot.
Cotton yarn is a good option when you want clearly defined stitches and a neat finish. Acrylic yarn can also work, especially if you prefer a softer appearance.
Crochet Hook
Use a hook suitable for your chosen yarn. A slightly smaller hook than the yarn label recommends may help create firm stitches, particularly for the flowers and pot.
Additional Supplies
You may also need:
- Yarn needle for sewing pieces together.
- Scissors.
- Stitch markers.
- Fiberfill or another suitable stuffing material.
- A small, stable internal support if your design requires it.
- A sturdy base insert that fits securely inside the pot.
If you use wire or another rigid support, keep sharp ends completely covered and inaccessible. For a decoration intended for homes with young children or pets, consider a wire-free construction and secure all small parts carefully.
Understanding the Crochet Stitches
You do not need an extensive collection of advanced stitches to create this type of decoration. Familiar basic stitches can form the foundation of the project.
Here are some common abbreviations used in US crochet terminology:
| Abbreviation | Meaning |
|---|---|
| ch | Chain |
| sl st | Slip stitch |
| sc | Single crochet |
| hdc | Half double crochet |
| dc | Double crochet |
| MR | Magic ring |
| st | Stitch |
| inc | Increase |
| dec | Decrease |
An increase usually means working two stitches into the same stitch. A decrease combines stitches to reduce the stitch count.
If you are new to crochet, practice these stitches with scrap yarn before making the flowers and pot. Small decorative pieces often look best when the stitches are consistent and the yarn tension is even.
How to Plan Your Mini Crochet Blossom Tree
Before crocheting the individual pieces, sketch a simple outline of your intended tree.
Think about how tall you want the finished decoration to be, how wide the branches should spread, and where the blossoms will sit. A narrow tree may suit a small desk, while a wider arrangement can become an attractive centerpiece on a shelf.
Step 1: Choose the Shape
Decide whether you prefer a rounded canopy, a gently asymmetrical tree, or a more open arrangement with visible branches.
An asymmetrical silhouette often looks natural because the branches do not all extend in exactly the same direction.
Step 2: Select a Coordinated Color Palette
A combination of warm brown, dusty pink, and sage green creates a soft spring appearance.
For a different mood, try ivory flowers with olive-green leaves or pale peach blossoms with a darker brown trunk.
Step 3: Decide on the Pot
The pot should be wide and stable enough to support the arrangement. A slightly wider base can help prevent the finished tree from tipping over.
The pot’s color also matters. Neutral shades allow the blossoms to stand out, while a contrasting color can make the entire decoration feel more playful.
Creating the Crochet Blossoms
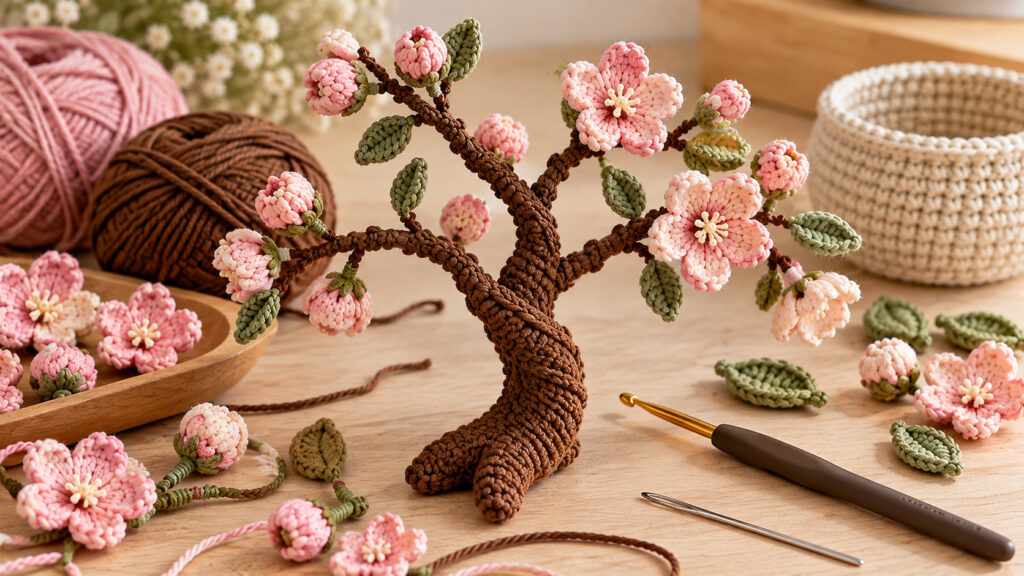
The flowers are the most noticeable part of this project, so consistency is important. Making several blossoms in the same size helps the finished tree look balanced.
For a simple five-petal flower, you can experiment with a small center and five rounded or slightly pointed petals. The exact stitch combination depends on the flower shape you want.
A Simple Flower-Making Approach
- Begin with a small center using a magic ring or another suitable starting method.
- Work a compact group of stitches into the center to establish the flower’s base.
- Form five petals around the center using a consistent stitch sequence.
- Close and secure the flower neatly.
- Leave a yarn tail long enough to attach the blossom to a branch.
Repeat the process until you have enough flowers to distribute across the tree. The number will depend on the finished size and how densely you want the branches covered.
For a natural appearance, avoid placing every blossom at exactly the same distance from the next. A few small clusters separated by visible spaces can create more depth.
Related : Easy Crochet Christmas Tree Ornament Pattern for Beginners
Tips for Better-Looking Flowers
- Keep your tension consistent so the petals remain similar in size.
- Use a yarn needle to hide loose ends securely.
- Make a sample flower first and check its proportions against the planned tree.
- Avoid oversized petals if you want a delicate miniature appearance.
- Consider adding a small green leaf near selected blossoms for extra contrast.
If you plan to publish this as a precise crochet pattern, test the flower instructions and record the exact stitch counts before presenting them as a repeatable design.
Making the Leaves and Branch Details
Small leaves provide contrast and help connect the flowers visually to the trunk.
Use sage green or olive green yarn for a subtle natural look. You can make narrow leaves for a delicate silhouette or slightly wider leaves for a fuller arrangement.
Leaves do not need to cover every branch. A few strategically placed pieces can be enough to break up the pink areas and make the arrangement look more dimensional.
Consider varying their orientation. Some leaves can point outward, while others angle slightly upward or downward.
Shaping the Trunk and Branches
The trunk gives the tree its character. A completely straight trunk creates a formal appearance, while a gently curved trunk can look more organic.
For a yarn-covered structure, you can crochet a narrow tube or create a textured covering around a suitable internal support.
Important Design Considerations
First, make sure the trunk is proportionate to the flowers. If it is too thick, the blossoms may appear small and crowded. If it is too thin, the branches may struggle to support the decoration.
Second, plan the branch positions before attaching the flowers. It is easier to adjust the overall silhouette while the branches are still separate.
Finally, secure the branches carefully. The finished arrangement should hold its shape when moved gently from one place to another.
If you choose a wire-supported design, use an appropriate material, cover every end completely, and ensure that the support cannot work loose through ordinary handling.
Crocheting the Decorative Pot
The pot provides both visual balance and a practical foundation for the tree.
A compact, rounded pot works well for a miniature arrangement, although a slightly tapered shape can also look attractive.
To create a pot, begin at the base and gradually increase the circumference until it reaches the desired width. Continue working upward to form the sides, adjusting the shaping to create the profile you prefer.
A simple single-crochet texture gives the pot a neat appearance. For a more decorative finish, you could use a ribbed texture or add a narrow contrasting border around the rim.
Keeping the Pot Stable
Stability is especially important if the branches extend widely beyond the pot.
Consider using a firm, well-fitted base insert or another safe internal support. Make sure the tree’s weight is distributed evenly and that the base does not deform when the finished piece is displayed.
The pot should feel substantial enough for the arrangement without becoming disproportionately large.
Assembling the Finished Tree
Once the flowers, leaves, trunk, branches, and pot are ready, the final assembly can begin.
Step 1: Position the Trunk
Place the trunk in the center of the pot and check that it stands upright. Adjust the base before securing the structure permanently.
Step 2: Arrange the Branches
Spread the branches in different directions to create the silhouette you planned. Check the tree from the front and sides so that it does not look flat.
Step 3: Attach the Flowers
Sew each flower securely onto a suitable branch. Distribute the blossoms gradually rather than placing them all in one area.
Step 4: Add the Leaves
Attach leaves in selected spaces between flower clusters. Step back occasionally to see whether the colors are balanced.
Step 5: Finish the Pot
Secure the trunk and internal support, tidy any visible yarn ends, and check that the base sits flat on the surface.
Step 6: Inspect the Decoration
Look for loose stitches, unsecured embellishments, exposed support materials, and branches that bend more than intended. Make any necessary adjustments before displaying the piece.
Styling Your Mini Crochet Blossom Tree at Home
One reason miniature crochet trees are appealing is that they work in different spaces without requiring much room.
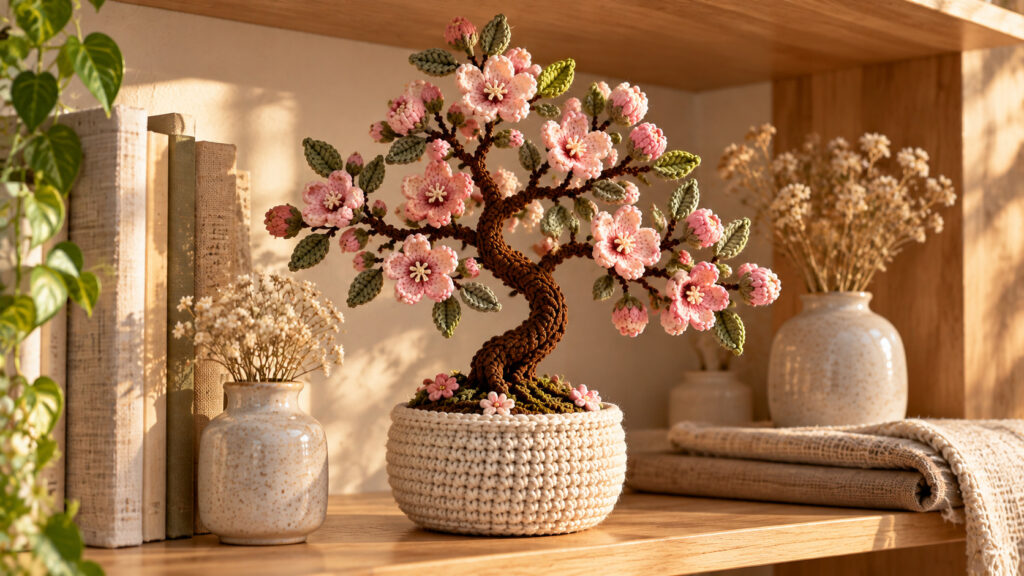
On a Bookshelf
Place the tree beside a few books, a small ceramic object, or a framed photograph. Leave enough empty space around it so the blossoms remain visible.
On a Desk
A compact tree can add color to a workspace. Choose a restrained palette if you prefer a calm and uncluttered environment.
As a Handmade Gift
A crochet blossom tree can make a thoughtful gift for birthdays, housewarmings, Mother’s Day, or spring celebrations.
You can personalize the flowers to match someone’s favorite colors or select a pot that suits their home decor.
As Part of a Seasonal Display
Combine the tree with other handmade decorations, such as crochet flowers, small baskets, or yarn-covered planters. Keeping a consistent palette helps the arrangement feel intentional.
Common Problems and How to Solve Them
Even a small decorative crochet project can require a little adjustment. Here are some common issues to watch for.
Why Does My Crochet Tree Lean?
The tree may lean if the base is too light, the trunk is not centered, or the branches are heavier on one side.
Check the stability of the pot first. Reposition the trunk if necessary, and distribute the flowers more evenly across the branches.
Why Do My Flowers Look Different in Size?
Uneven tension, different yarn thicknesses, and inconsistent stitch placement can change the size of individual flowers.
Make a sample flower before producing the entire set. Use the same yarn, hook, and technique throughout the project.
Why Does the Tree Look Too Crowded?
Too many blossoms in one area can hide the branches and make the overall shape difficult to see.
Try spreading the flowers into smaller clusters and leaving some spaces between them. The contrast between the trunk, leaves, and flowers will help each detail stand out.
Why Does the Pot Lose Its Shape?
Soft yarn and loose stitches can make a pot collapse under the weight of the tree.
Use firm tension, choose a suitable stitch pattern, and add a properly fitted base insert if necessary.
How Can I Make the Finished Piece Look More Professional?
Pay attention to the small details. Hide yarn ends, secure each flower, keep the pot symmetrical where intended, and check the arrangement from several angles.
A clean finish can make a simple handmade decoration look much more polished.
Care and Maintenance
Crochet decorations can collect dust over time, especially around the petals and small branches.
Use a soft brush or a gentle stream of cool air to remove loose dust. If cleaning is necessary, follow the care recommendations for the yarn and any internal materials used.
Avoid soaking a tree that contains wire, glued parts, or materials that may rust, weaken, or lose their shape when wet.
Store the decoration in a dry place when it is not being displayed. A protective container can help prevent the flowers and branches from becoming crushed.
Frequently Asked Questions
Is a mini crochet blossom tree suitable for beginners?
The individual flowers and pot can be approachable for beginners who know basic stitches. Assembling the branches and creating a stable structure may require additional patience.
What yarn is best for a crochet blossom tree?
Cotton yarn is useful for defined stitches and a tidy appearance. Acrylic yarn can also work, depending on the texture and flexibility you want.
Can I change the flower colors?
Yes. Pink, peach, ivory, white, lavender, and pale yellow can all create attractive variations. Choose colors that complement each other and suit the intended display space.
How do I make the tree stand upright?
Use a stable base, center the trunk carefully, and distribute the branches evenly. A well-fitted support inside the pot can improve stability when the design requires one.
Can I make a larger version?
Yes. You can increase the scale of the pot, trunk, branches, and blossoms. Keep the proportions balanced and make sure the base can support the larger structure.
Is a crochet blossom tree a good handmade gift?
It can be an excellent choice for someone who enjoys handmade decor, flowers, or unique craft projects. Its colors and pot can be personalized for different occasions.
Can I sell finished crochet blossom trees?
You can create your own original design and check the rules that apply to your location and sales platform. If you work from another designer’s pattern, review that designer’s license and permissions before selling finished items or using their photographs.
Final Thoughts
A mini crochet blossom tree is a creative way to turn simple yarn into a decorative piece with personality. The combination of textured branches, delicate flowers, and a handmade pot allows you to experiment with color, shape, and proportion while creating something that can be enjoyed throughout the year.
Take your time with the flowers, plan the structure before assembly, and pay attention to the stability of the finished decoration. These small details can make a meaningful difference to the final result.
If you enjoy making decorative crochet projects, consider exploring other handmade flowers, miniature plants, and yarn-based home accessories to create a coordinated collection for your home or as gifts.