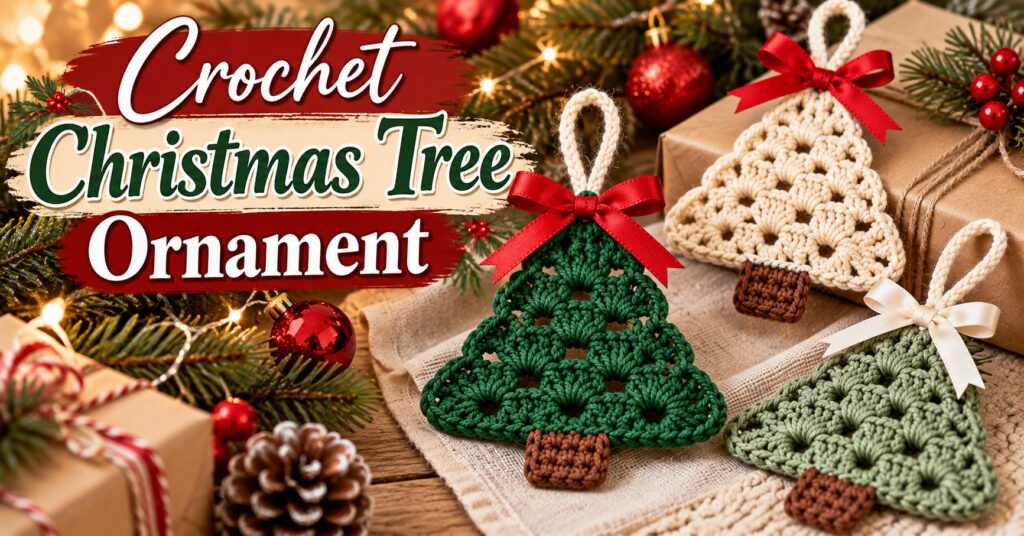
There is something special about handmade Christmas decorations. They bring warmth to a room, add a personal touch to the holiday season, and often become the little details people remember year after year.
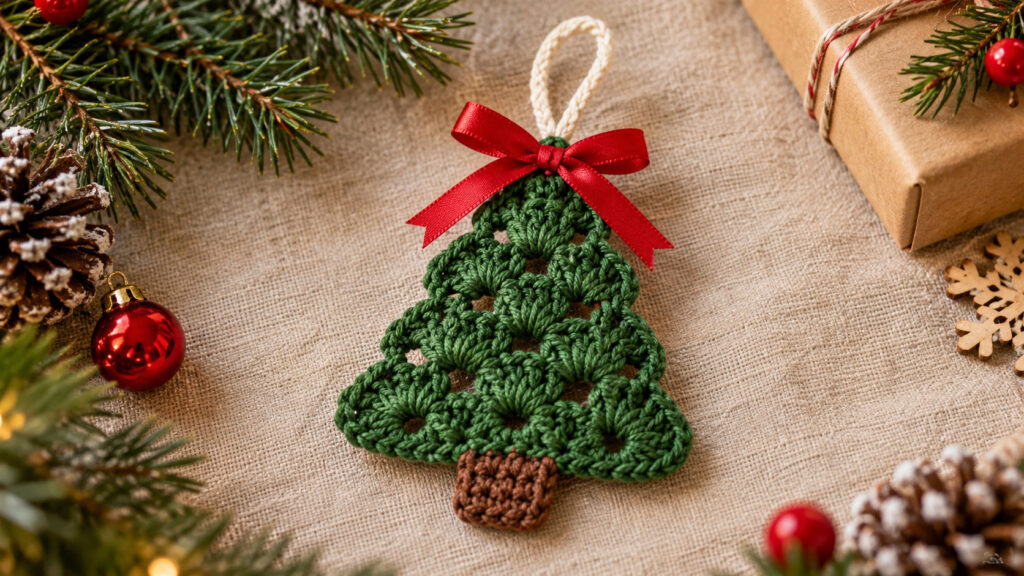
If you enjoy working with yarn, a crochet Christmas tree ornament is a lovely project to add to your holiday crafting list. It is small, uses only a little yarn, and can be customized with different colors, bows, beads, and hanging loops.
In this tutorial, we will explore how to make a flat granny-style crochet tree ornament using basic stitches. The design is suitable for decorating a Christmas tree, adding to a gift package, or making a handmade garland. You can also create several trees in different colors to match your holiday decor.
Please note: This is an original, simplified tutorial concept. Follow the stitch instructions below and check your finished shape as you work.
Related : 6 Crochet Butterfly Bolero Free Patterns to Try
Why Make a Crochet Christmas Tree Ornament?
Crochet ornaments are a wonderful way to use leftover yarn while creating something festive and useful. Unlike fragile decorations, a yarn ornament is lightweight and easy to store after the holidays.
Here are a few reasons to try this project:
- Beginner-friendly stitches: You mainly need chain stitches, double crochet, and slip stitches.
- Budget-friendly: A small amount of green yarn is enough for the tree.
- Easy to personalize: Add a red bow, tiny embroidered details, or a contrasting border.
- Great for handmade gifts: Attach one to a wrapped present for an extra-special finish.
- Perfect for craft fairs: Make a coordinated collection in different colors and sizes.
You do not need to be an expert crocheter to enjoy this project. Take your time with each row, and remember that small handmade differences are part of the charm.
Materials and Tools
Before starting, gather the following supplies. You may already have most of them in your crochet basket.
- Green DK or worsted-weight yarn for the tree.
- A small amount of brown yarn for the trunk.
- Red ribbon or yarn for a decorative bow.
- A crochet hook suitable for your chosen yarn.
- Scissors.
- A yarn needle for weaving in the ends.
- A stitch marker, if you find it helpful.
- Optional: small embroidery thread for decorative details.
For a firmer ornament, choose a hook slightly smaller than the one recommended on your yarn label. This helps create tighter stitches and gives the finished tree a more defined shape.
You can use acrylic, cotton, or a cotton blend. Cotton usually gives a crisp stitch definition, while acrylic yarn can feel softer and may be easier to find in festive colors.
Crochet Abbreviations
This tutorial uses standard US crochet terminology.
- ch: Chain
- sl st: Slip stitch
- dc: Double crochet
- sp: Space
- st: Stitch
- rep: Repeat
- RS: Right side
- WS: Wrong side
A granny cluster consists of three double crochet stitches worked into the same space unless the instructions say otherwise.
Related : 15 Crochet Phone Case Ideas That Are Cute, Practical & Easy
Finished Size
The final size depends on your yarn, hook, and tension. With a small amount of DK yarn and a suitable hook, you can aim for a small ornament approximately 3–5 inches tall, including the trunk and hanging loop.
For a larger decoration, use thicker yarn and an appropriate hook. Keep your stitches consistent so the tree maintains its shape.
How to Crochet the Granny-Style Tree
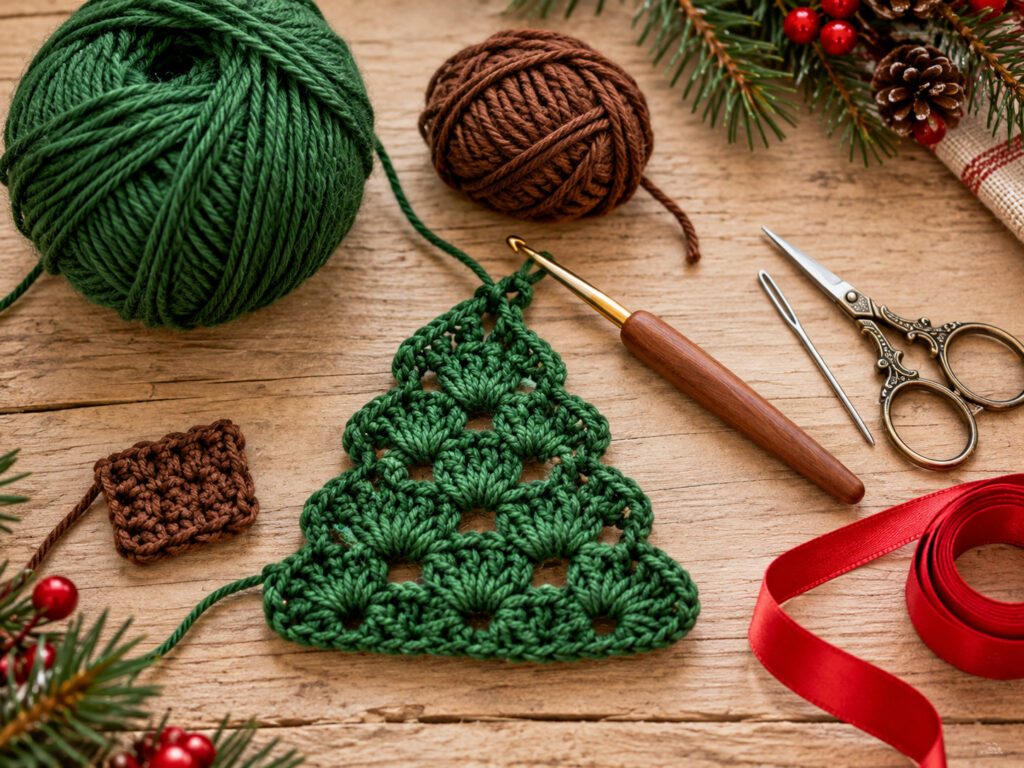
The tree is made as a flat triangular motif, with a small trunk added at the bottom. The triangle grows through repeated granny clusters, making the stitch pattern easy to recognize as you work.
Step 1: Make the Foundation
Using green yarn, make a slip knot and chain 4.
Work 2 double crochet stitches into the fourth chain from your hook. This forms the first cluster and creates the foundation for the triangular motif.
Turn your work gently and check that the stitches are not too tight. The first row may look small, but the following rows will make the shape more visible.
Step 2: Work the Second Row
Chain 3, which counts as the first double crochet.
Work 2 double crochet stitches into the first space to complete the first granny cluster. Chain 1, then work 3 double crochet stitches into the next available space.
At this stage, check that the clusters sit neatly next to each other. If the fabric curls, relax your tension and make sure you are working into the correct spaces.
Step 3: Build the Triangle
Continue working granny-style rows, adding clusters in the spaces between existing clusters.
For each new row:
- Turn your work and chain 3.
- Work the required granny clusters into the available spaces.
- Use chain spaces to keep the fabric flexible.
- Increase at the outer edges where needed to maintain a triangular silhouette.
- Finish the row and check the shape before continuing.
Repeat the increase pattern until your tree reaches the desired width and height. The number of rows will depend on your yarn and the size you want.
Important: Granny-stitch triangles can vary depending on where increases are placed. If you want an exact, repeatable pattern for a finished product, make a sample first and record the stitch count for each row before publishing the instructions as a tested pattern.
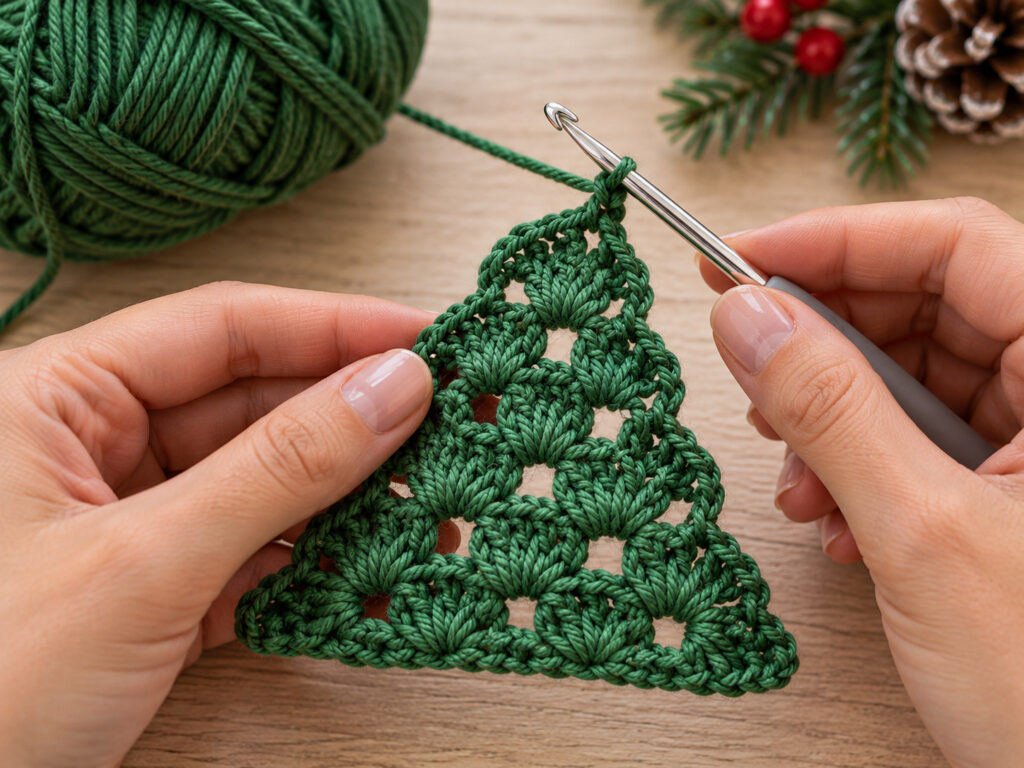
Step 4: Shape the Tree Edges
Once the triangular body reaches your preferred size, lay it flat on a table.
Check both sides of the tree. If one side looks wider than the other, look for missed spaces or uneven increases. Small differences are common when you are learning, so take a moment to adjust before adding the finishing details.
You can leave the edges as they are for a classic granny-style appearance, or add a simple single crochet border for a cleaner outline.
To add a border, attach green yarn at an edge and work single crochet stitches evenly around the triangle. At the corners, work extra stitches where needed to help the fabric lie flat. Avoid adding too many stitches, as this can make the edges ruffle.
Fasten off and weave in loose ends securely.
Step 5: Add a Small Tree Trunk
Switch to brown yarn to create a little trunk at the bottom.
Attach the brown yarn to the lower center of the tree. Work a short row of single crochet stitches across the base, then add one or two more rows depending on how long you want the trunk to be.
Keep the trunk centered and avoid making it too wide. A small rectangular shape usually complements the triangular tree nicely.
Fasten off and weave in the yarn ends on the back.
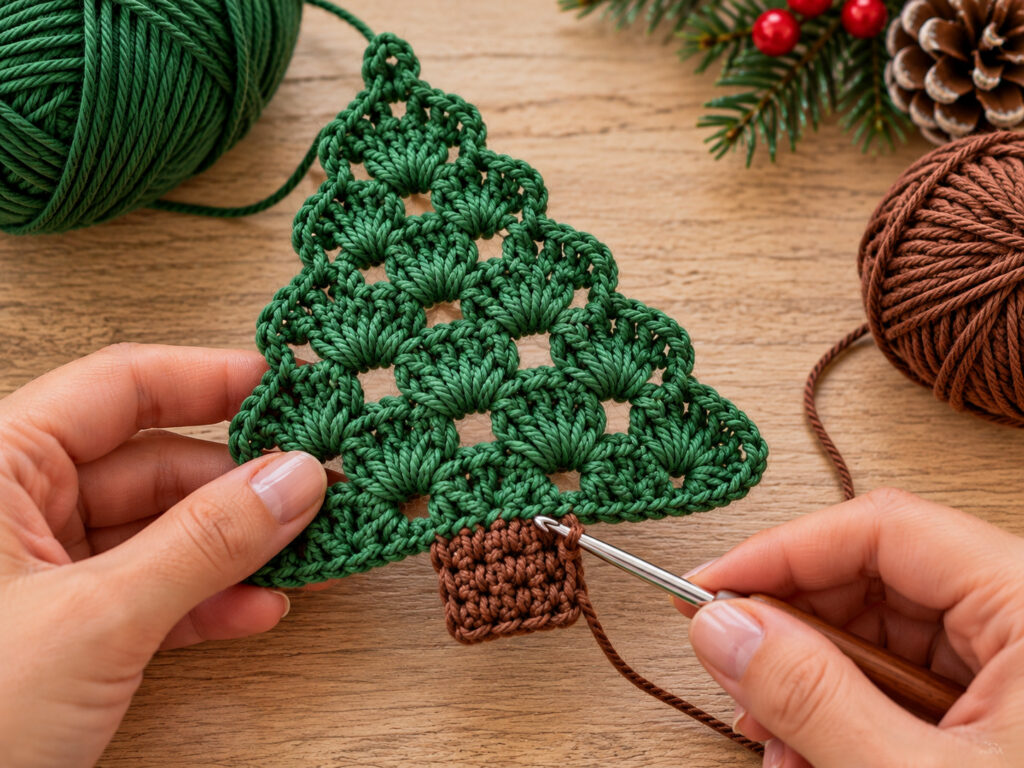
Step 6: Make the Hanging Loop
Your crochet Christmas tree ornament needs a loop so it can hang securely.
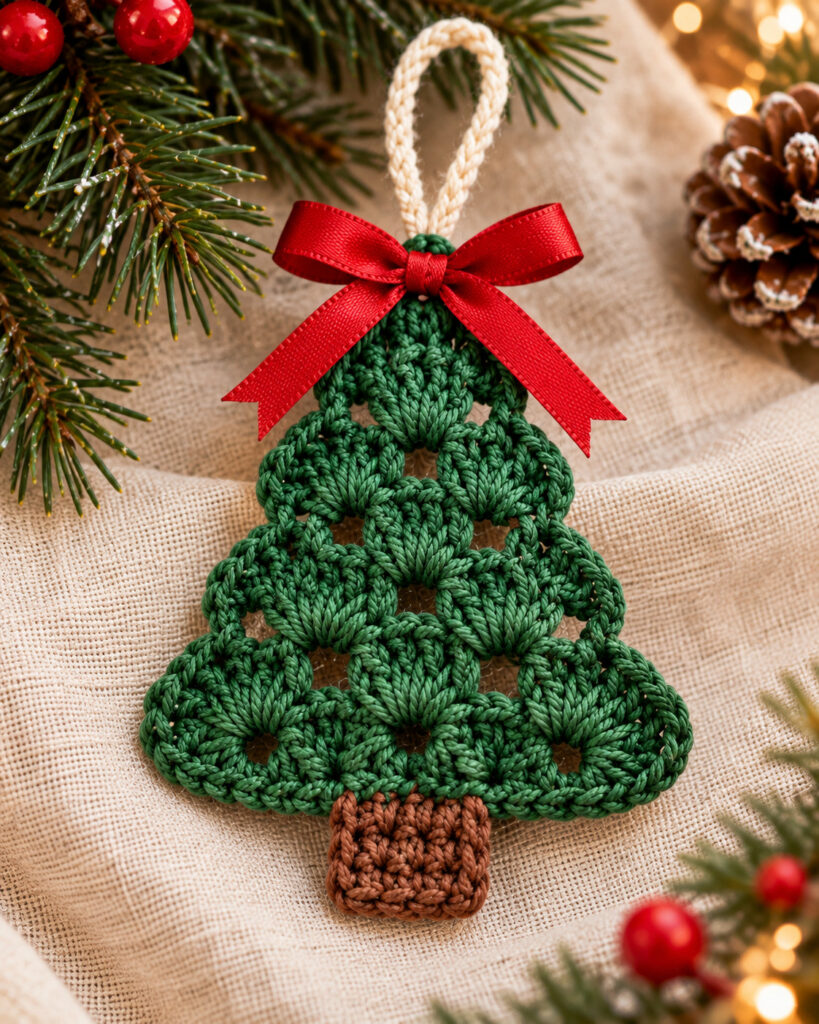
Using green yarn or a contrasting cream yarn, make a chain long enough to form a small loop. Attach both ends firmly to the top of the tree with a yarn needle, checking that the loop is centered.
If you prefer, you can use a thin ribbon instead. Make sure the attachment is secure before hanging the ornament.
Related : Free Crochet Dumpling Pattern with a Mini Basket
Step 7: Add a Festive Bow
A red bow adds a classic Christmas touch to the green tree.
Tie a small ribbon bow and stitch it securely near the top. Alternatively, make a tiny bow from red yarn and attach it with a yarn needle.
You can also decorate the tree with a few small embroidered stitches to suggest ornaments or lights. Keep the decorations lightweight so they do not pull the fabric out of shape.
Avoid loose beads or small detachable embellishments if the ornament will be used around young children or pets.
Troubleshooting: Common Crochet Problems
Why Is My Crochet Tree Curling?
Curling often happens when the tension is too tight or there are not enough stitches along the edges. Check that you are working into the correct spaces and that the increases are balanced.
If the yarn is very stiff, try a slightly larger hook or a softer yarn.
Why Does My Tree Look Uneven?
Count your clusters and compare the two sides. Missing an edge increase or accidentally skipping a space can make the triangle look lopsided.
Blocking may help with minor unevenness, depending on the fiber. Always follow the yarn manufacturer’s care instructions.
How Can I Make the Ornament Firmer?
Use a slightly smaller hook to create denser stitches. You can also lightly block the finished motif to help it lie flat.
If you decide to add a backing, choose a lightweight material and attach it neatly without hiding the crochet texture.
What If My Hanging Loop Keeps Coming Loose?
Use a yarn needle to secure both ends through several sturdy stitches at the top. Weave in the ends on the reverse side rather than relying on a single knot.
Creative Ways to Use Crochet Christmas Trees
Once you have made one tree, it is easy to imagine a whole collection.
- Christmas tree decorations: Make several in matching green shades.
- Gift toppers: Attach a finished ornament to a wrapped present.
- Festive garlands: Create multiple trees and space them along a length of yarn.
- Handmade holiday gifts: Package a few ornaments together in a small gift box.
- Seasonal table decorations: Place the trees beside candles or pine branches, away from open flames.
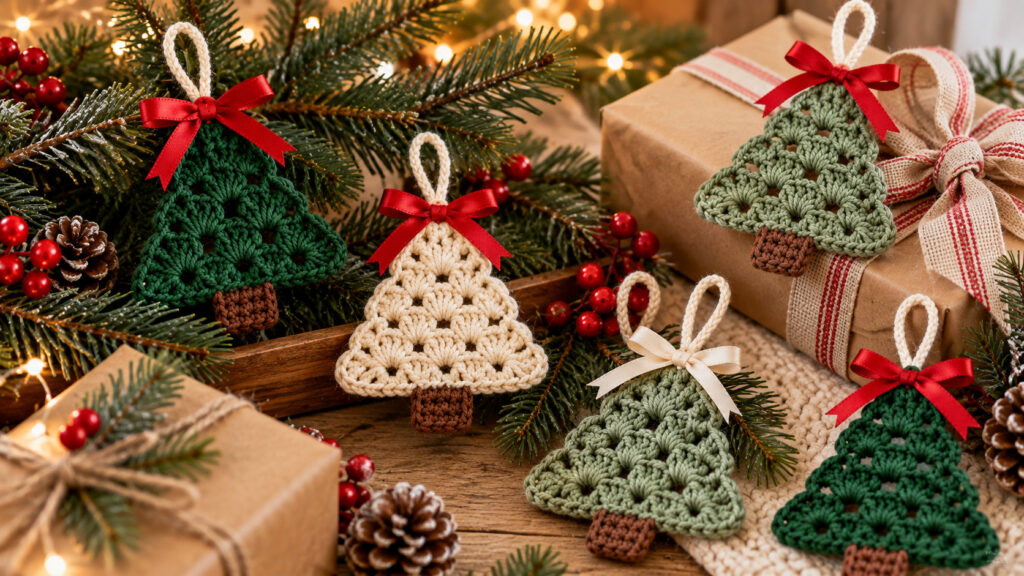
You can also experiment with cream, red, gold, or pastel yarn for a different holiday look. A coordinated set can be a lovely handmade gift for friends and family.
Frequently Asked Questions
Is This Crochet Christmas Tree Ornament Suitable for Beginners?
Yes, the project uses basic stitches and a simple flat motif. Beginners should be comfortable with chain stitches, double crochet, and working into spaces. Take your time checking the shape as you go.
How Much Yarn Do I Need?
Only a small amount of green yarn is needed for a small ornament, plus a little brown yarn for the trunk. The exact amount depends on the size of your tree and the yarn weight.
Can I Use Leftover Yarn?
Absolutely. Small Christmas ornaments are a practical way to use leftover yarn from other projects. Just choose a hook that works well with your yarn.
Can I Make the Tree in Different Colors?
Yes. Green is traditional, but cream, red, gold, and pastel shades can all look lovely. You can also use different colors for the trunk, border, and bow.
Can I Sell Finished Crochet Ornaments?
You can generally sell handmade items you make yourself, but check any pattern-specific license if you use someone else’s instructions. If you plan to sell these ornaments, make sure the design and any accompanying photographs are your own or properly licensed.
How Should I Store Crochet Christmas Ornaments?
Let the ornaments dry completely if they need cleaning. Store them in a clean, dry box away from direct sunlight and moisture. Avoid placing heavy decorations on top of them, as this can flatten the stitches.
Final Thoughts
A handmade crochet Christmas tree ornament is a simple way to bring a little extra warmth to the holiday season. With a few basic stitches, a small amount of yarn, and a little creativity, you can make decorations that feel personal rather than mass-produced.
Try different colors, experiment with bows, and make a small collection to decorate your tree or give as gifts. Most importantly, enjoy the process and let each ornament reflect your own style.
Happy crocheting, and enjoy creating something special for Christmas!
Explore more handmade crochet inspiration and seasonal projects at Crocht.online.