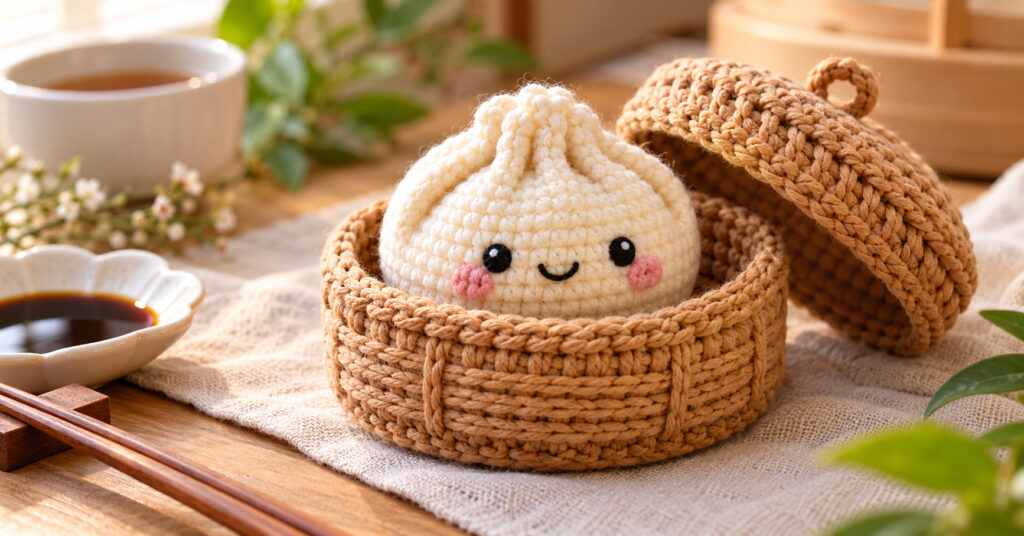
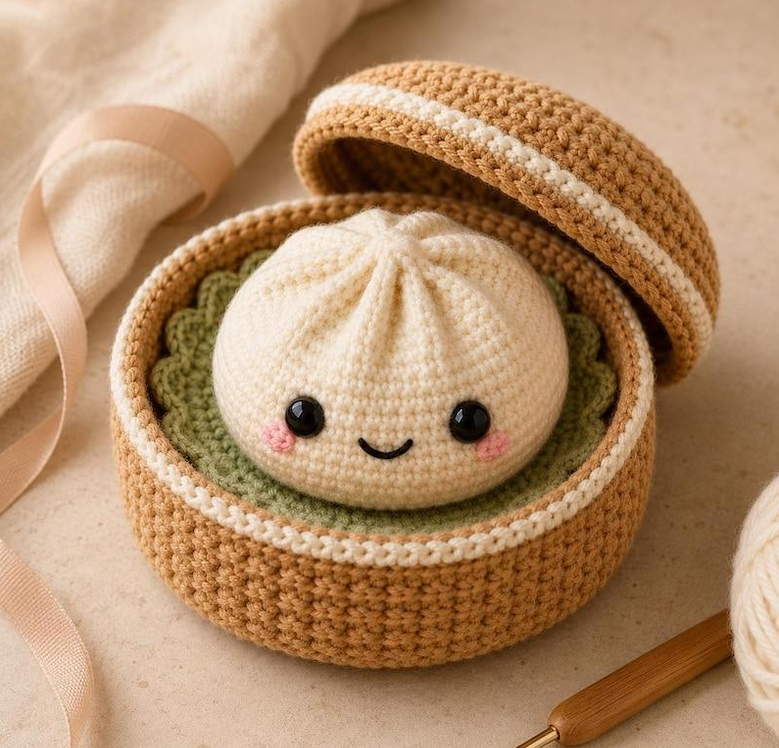
Have you ever seen a tiny crochet plushie that was so cute you immediately wanted to make one? This little crochet dumpling with its own mini basket is exactly that kind of project.
With its round shape, soft texture, and sweet embroidered face, this adorable amigurumi makes a lovely handmade gift, desk decoration, or addition to a collection of crochet food plushies.
The best part? You can customize the colors, add little details, and make each dumpling look different. In this tutorial, we’ll walk through the materials, basic techniques, and construction process to help you create your own miniature dumpling and basket set.
Please note: This is an original beginner-oriented project guide. The basket and dumpling dimensions will depend on your yarn, hook, and tension. Treat the shaping instructions as a starting point, and adjust the stitch counts to achieve the fit you want.
What You’ll Need
Before starting your free crochet dumpling pattern, gather the following supplies:
- Cream or white cotton yarn for the dumpling
- Light brown yarn for the basket
- A small amount of pink yarn for the cheeks
- Black embroidery thread for the face
- A crochet hook suitable for your yarn
- Polyester fiberfill stuffing
- Yarn needle
- Scissors
- Stitch marker
Cotton yarn gives the project a defined stitch texture, while a soft acrylic yarn can create a slightly fluffier appearance. Choose a hook that produces tight stitches so the stuffing doesn’t show through.
Related : Crochet Lizard Coaster Pattern – Cute Animal Coaster Tutorial
Crochet Abbreviations
This tutorial uses standard US crochet terminology.
- MR: Magic ring
- sc: Single crochet
- inc: Increase (two single crochets in one stitch)
- dec: Decrease (combine two stitches into one)
- sl st: Slip stitch
- ch: Chain
- st: Stitch
- BLO: Back loop only
If you’re new to amigurumi, don’t worry. Once you understand single crochet, increases, and decreases, you’ll have the basic skills needed to shape the dumpling.
Part 1: Crochet the Dumpling
Step 1: Make the Base
Start with cream yarn and create a magic ring. Work six single crochet stitches into the ring, then pull it closed.
For the next round, increase in every stitch to create twelve stitches. Continue increasing evenly over the following rounds until the base reaches your preferred width.
Keep your stitches tight and use a stitch marker to track the beginning of each round.
Step 2: Build the Rounded Shape
Continue crocheting in spiral rounds without increasing for several rounds. This allows the fabric to grow upward and creates the rounded body of the dumpling.
Related : 4 Easy Granny Square Crochet Patterns for Beginners
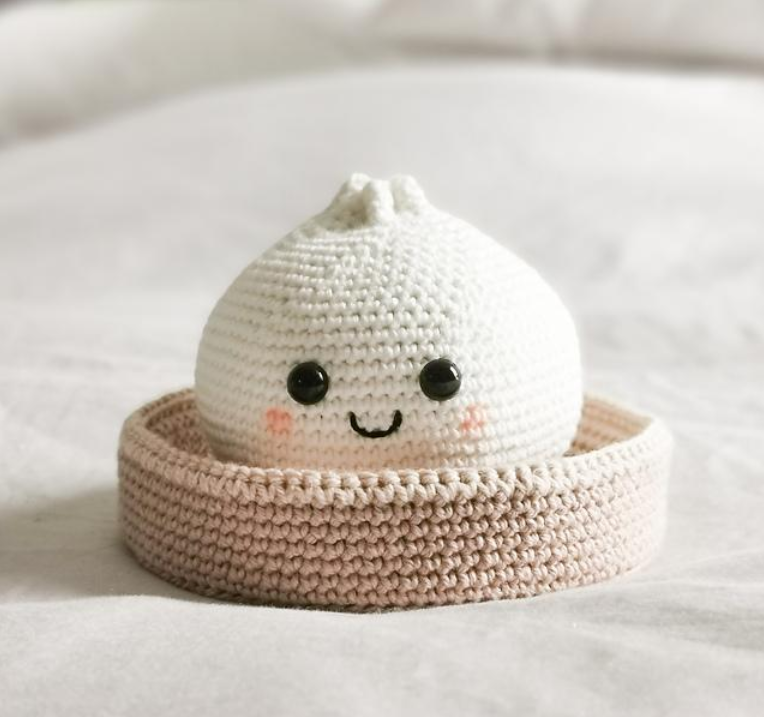
For a plump shape, the finished piece should resemble a small dome or rounded pouch. The exact number of rounds depends on your yarn thickness and desired size.
Step 3: Add the Filling
Add small amounts of polyester stuffing as the shape develops. Distribute it evenly, using your fingers to smooth out any lumps.
Avoid overstuffing. The dumpling should feel soft and rounded rather than stretched or stiff.
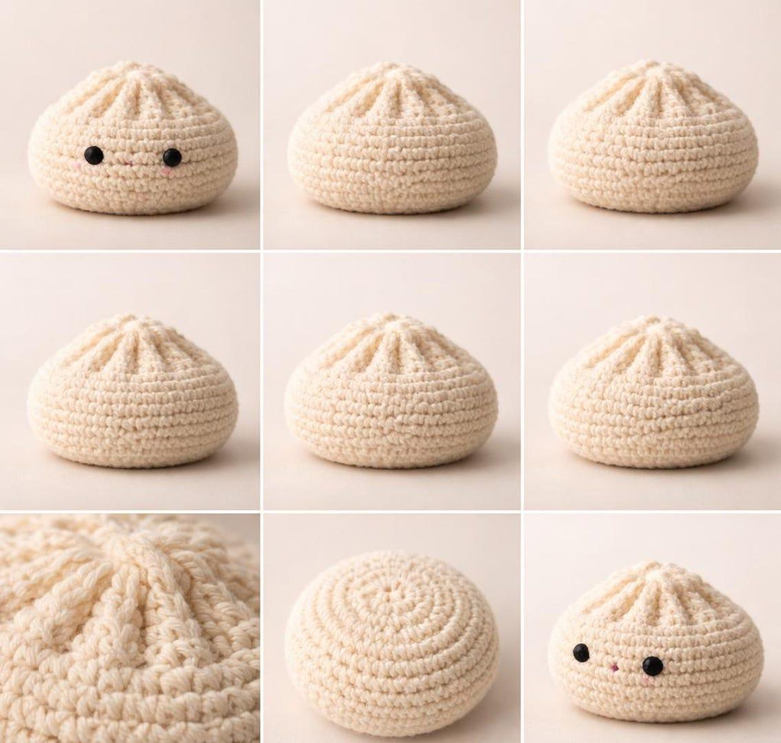
Step 4: Shape the Pleats
The top of a dumpling often has little folds that give it its recognizable appearance.
Use a yarn needle and matching yarn to make several small, evenly spaced folds around the top opening. Adjust them gently until the shape looks balanced, then secure the yarn on the inside.
Step 5: Embroider the Face
Use black embroidery thread to add two small eyes and a simple smiling mouth. Add tiny pink cheeks if you like.
Take your time with the placement. A small change in the position of the eyes can give your dumpling a completely different expression.
If the toy is intended for a young child, embroidered features are preferable to small plastic safety eyes that could detach.
Part 2: Make the Mini Crochet Basket
Step 1: Crochet the Base
Using light brown yarn, start with a magic ring and six single crochet stitches.
Increase evenly in each round until the base is wide enough to hold your dumpling. A flat, circular base works well for a miniature basket.
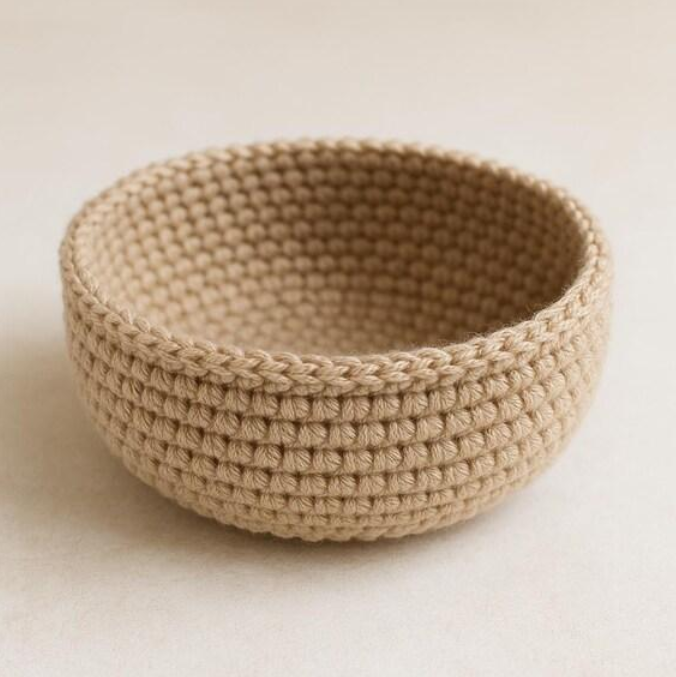
Step 2: Build the Basket Walls
Work one round in the back loops only to create a clear corner between the base and the sides.
Continue with single crochet stitches around the basket without increasing. The walls will gradually rise as you work.
Keep the sides even and check the fit with your dumpling as you go.
Step 3: Add a Neat Rim
Finish the top edge with a slip stitch round or a simple round of single crochet. Fasten off and weave in the ends securely.
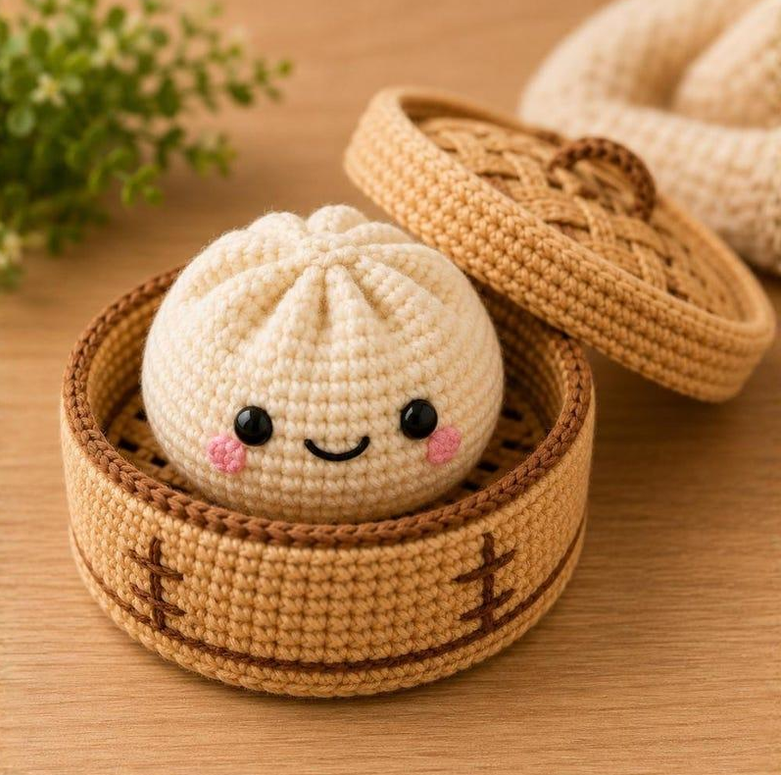
For a more detailed look, you can add a small crochet lid or a simple woven-style texture using contrasting yarn.
Step 4: Check the Fit
Place the finished dumpling inside the basket. It should sit comfortably without being squeezed or falling out too easily.
If the basket is too small, add another increase round to the base. If it’s too wide, reduce the number of increase rounds in your next version.
Tips for a Better Finished Result
- Keep your tension consistent to help the basket maintain its shape.
- Use a stitch marker when working in continuous rounds.
- Stuff the dumpling gradually instead of adding everything at once.
- Secure all yarn ends carefully.
- Make a quick test piece if you’re using an unfamiliar yarn.
- Take photos in natural light to show the texture and details.
Small projects are also a great way to use leftover yarn from larger crochet projects.
How to Customize Your Dumpling
The fun part of making amigurumi is giving each piece its own personality.
Try a pastel pink dumpling, a pale green version, or a warm golden color. You could also embroider a different expression on each plushie or make several dumplings in different sizes.
For the basket, natural brown yarn creates a classic look, while cream or pastel yarn gives the project a softer, more playful style.
Frequently Asked Questions
Is this crochet dumpling pattern suitable for beginners?
The basic shapes use beginner-friendly amigurumi techniques, including single crochet, increases, decreases, and working in rounds. The pleats and basket shaping may take a little practice.
What yarn works best for a crochet dumpling?
Cotton and acrylic yarn are both good choices. Cotton tends to show stitch definition clearly, while acrylic yarn can feel softer and fluffier.
How do I make the dumpling fit the basket?
Check the dimensions as you crochet. Make the basket base slightly wider than the dumpling’s widest point, and adjust the basket height to support the plushie comfortably.
Can I change the size of the project?
Yes. Use thicker yarn and a suitable larger hook for a bigger plushie, or thinner yarn and a smaller hook for a miniature version. Your final measurements will vary.
Can I make this crochet project as a gift?
Absolutely! A tiny dumpling in its own basket makes a thoughtful handmade gift for crochet lovers, food-themed collectors, or anyone who enjoys cute decorations.
Final Thoughts
This crochet dumpling and mini basket project is a lovely way to practice amigurumi shaping while creating something small, useful, and full of personality.
Once you’ve made your first one, experiment with different colors, facial expressions, and basket designs. You might even create a whole collection of tiny crochet food plushies.
Save this tutorial for your next crochet project, and explore Crocht for more handmade inspiration and crochet ideas.