Easy Crochet Christmas Tree Ornament: A Free Pattern for Beginners
There is something special about decorating a Christmas tree with handmade ornaments. They bring warmth, personality, and a little extra meaning to the holiday season. And if you enjoy crochet, making your own decorations can be just as enjoyable as putting them on the tree.
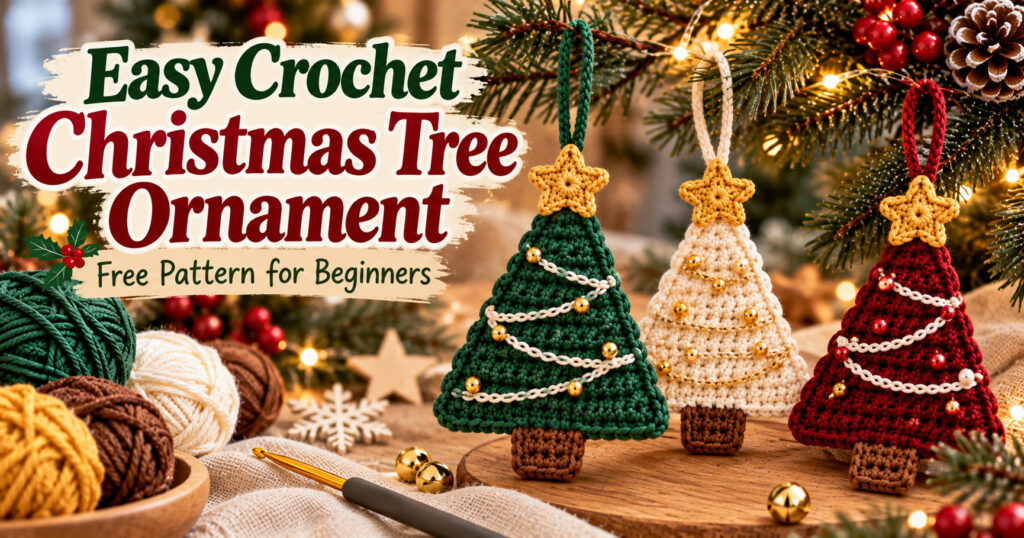
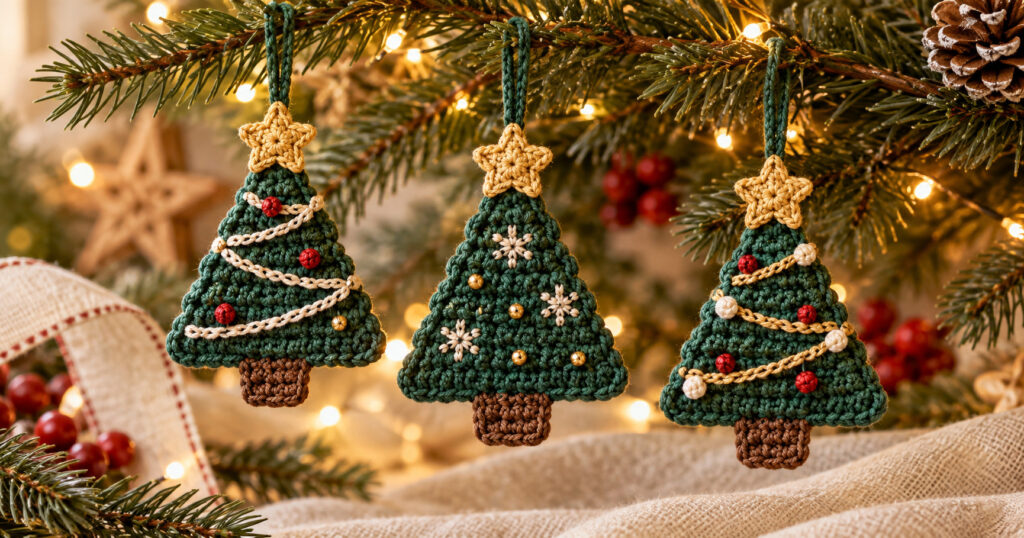
This easy crochet Christmas tree ornament is a lovely project for beginners and experienced crocheters alike. It features a simple triangular tree shape, a small brown trunk, a decorative star, and a hanging loop. You can make it in traditional green and gold or experiment with softer colors for a more modern Christmas look.
The best part? It uses basic crochet stitches and a small amount of yarn, making it a wonderful way to use leftover yarn from other projects.
Why You’ll Love This Crochet Christmas Ornament
- Beginner-friendly: The main tree uses basic single crochet stitches and simple decreases.
- Budget-friendly: You only need a small amount of yarn.
- Quick to make: Allow approximately 30–60 minutes, depending on your experience.
- Easy to customize: Change the colors, add a star, or decorate the branches.
- Perfect for handmade gifts: Use it as a tree ornament, gift topper, or festive garland decoration.
Related : 2 Christmas Cocoa Crochet Patterns: Cute Bear & Mug
You can make several ornaments in different colors to create a coordinated handmade Christmas collection.
Materials You’ll Need
Before starting your crochet Christmas tree ornament, gather these supplies:
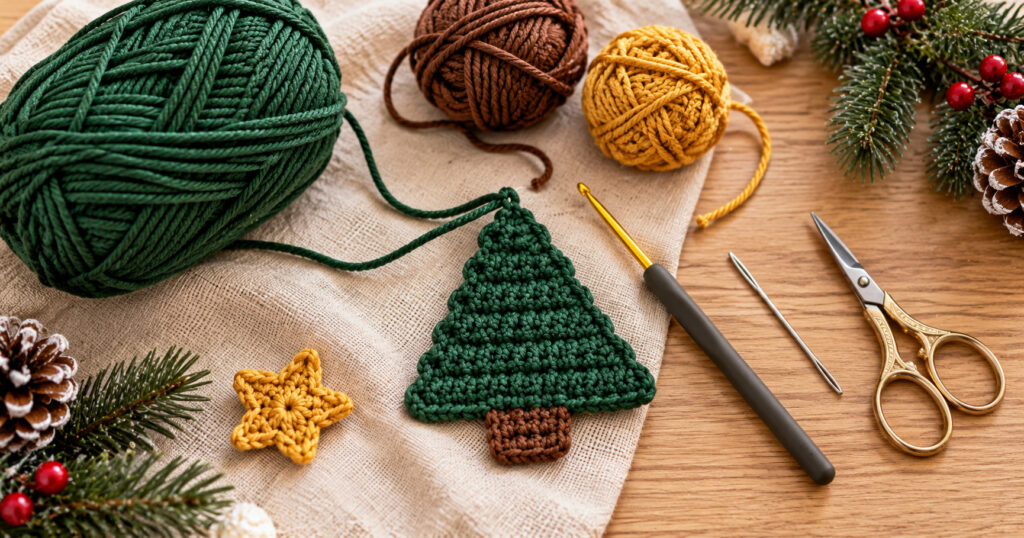
- Medium-weight yarn (Category 4) in forest green
- A small amount of brown yarn for the trunk
- A small amount of yellow or gold yarn for the star
- A 4 mm crochet hook
- Yarn needle
- Scissors
- Stitch marker (optional)
- Small amount of yarn or cord for the hanging loop
Cotton yarn is a good choice because it creates defined stitches and holds its shape nicely. Acrylic yarn also works well if that is what you already have at home.
Crochet Abbreviations (US Terms)
This pattern uses standard US crochet terminology.
- ch: Chain
- sc: Single crochet
- sc2tog: Single crochet two stitches together
- sl st: Slip stitch
- st(s): Stitch(es)
- FO: Fasten off
Skill Level
Beginner
Estimated Time
30–60 minutes
Finished Size
Approximately 4 inches (10 cm) tall and 3.5 inches (9 cm) wide, including the trunk but excluding the hanging loop. Your final size may vary depending on your yarn, hook, and tension.
Free Crochet Christmas Tree Ornament Pattern
This pattern creates a flat triangular tree using simple decreases. A small trunk and a separate star complete the decoration.
Part 1: Crochet the Tree
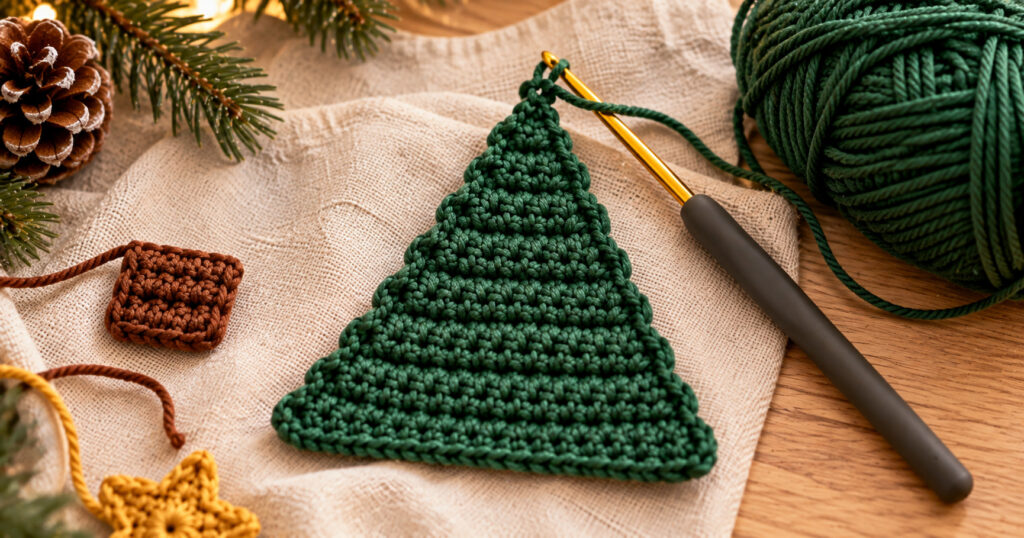
Using forest-green yarn, chain 16.
Row 1: Single crochet in the second chain from the hook and in each remaining chain across. You should have 15 stitches. Chain 1 and turn.
Row 2: Single crochet two together, single crochet in the next 11 stitches, then single crochet two together in the final two stitches. You should have 13 stitches. Chain 1 and turn.
Row 3: Single crochet in every stitch across. You should have 13 stitches. Chain 1 and turn.
Row 4: Single crochet two together, single crochet in the next 9 stitches, then single crochet two together in the final two stitches. You should have 11 stitches. Chain 1 and turn.
Row 5: Single crochet in every stitch across. You should have 11 stitches. Chain 1 and turn.
Row 6: Single crochet two together, single crochet in the next 7 stitches, then single crochet two together in the final two stitches. You should have 9 stitches. Chain 1 and turn.
Row 7: Single crochet in every stitch across. You should have 9 stitches. Chain 1 and turn.
Row 8: Single crochet two together, single crochet in the next 5 stitches, then single crochet two together in the final two stitches. You should have 7 stitches. Chain 1 and turn.
Row 9: Single crochet in every stitch across. You should have 7 stitches. Chain 1 and turn.
Row 10: Single crochet two together, single crochet in the next 3 stitches, then single crochet two together in the final two stitches. You should have 5 stitches. Chain 1 and turn.
Row 11: Single crochet in every stitch across. You should have 5 stitches. Chain 1 and turn.
Row 12: Single crochet two together, single crochet in the next stitch, then single crochet two together in the final two stitches. You should have 3 stitches. Chain 1 and turn.
Row 13: Single crochet two together, then single crochet in the remaining stitch. You should have 2 stitches. Chain 1 and turn.
Row 14: Single crochet two together. You should have 1 stitch remaining.
Fasten off and weave in the yarn ends.
Part 2: Add the Brown Trunk
Turn the tree so the widest edge is at the bottom.
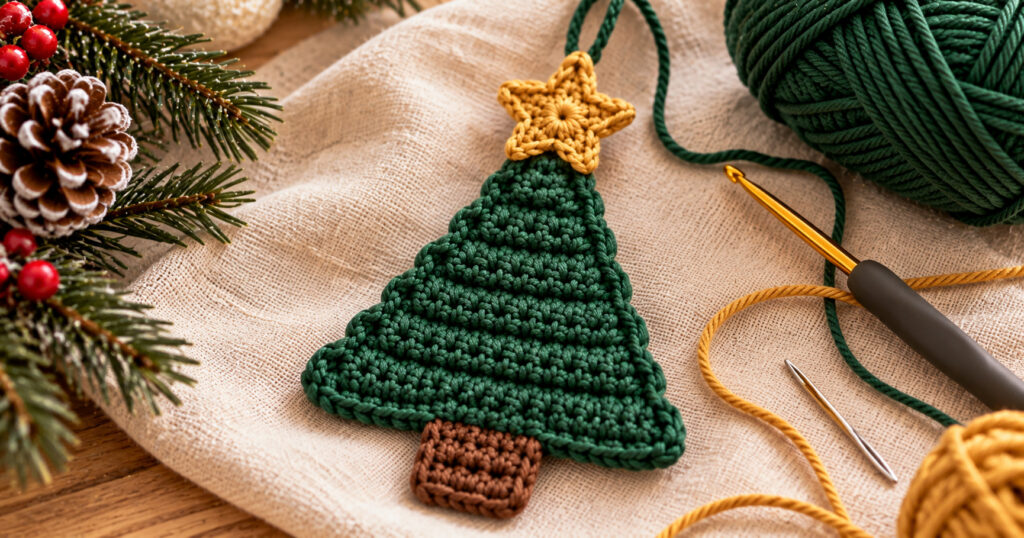
With brown yarn, join at the center of the bottom edge. Work 4 single crochet stitches across the central bottom stitches.
Chain 1 and turn. Work 4 single crochet stitches across for one additional row.
Fasten off and weave in the ends neatly.
The small brown section gives the ornament a recognizable Christmas tree silhouette.
Related : Crochet Penguin Keychain Pattern: Easy Winter Amigurumi
Part 3: Make a Simple Crochet Star
Using gold yarn, chain 6.
Row 1: Single crochet in the second chain from the hook and in each remaining chain. You should have 5 stitches. Chain 1 and turn.
Row 2: Single crochet in the first stitch, chain 2, slip stitch into the first chain of that chain-2 to create a small point. Single crochet in the next stitch, chain 2, slip stitch into the first chain of that chain-2. Repeat this point-making technique once more across the row, working into available stitches as you go.
Fasten off, leaving a long tail for sewing.
This creates a small decorative star-like accent. Arrange the points with your fingers and attach it securely to the top of the tree. For a more traditional five-point star, you can use a separate small star motif pattern that you have tested.
Part 4: Create the Hanging Loop
Cut approximately 6 inches (15 cm) of green yarn.
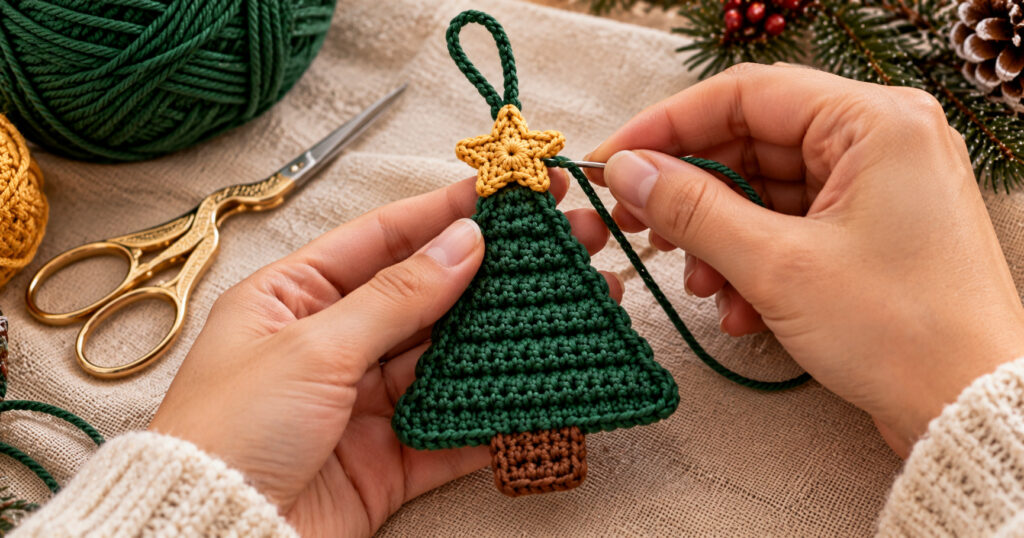
Fold it in half and attach both ends securely to the back of the tree’s top point using your yarn needle. Alternatively, chain 15 stitches with green yarn and join the ends to create a loop.
Make sure the loop is firmly attached before hanging your ornament.
Part 5: Finish and Shape Your Ornament
Take a moment to inspect your work.
- Weave in any remaining yarn ends.
- Gently flatten the tree with your fingers.
- Adjust the star and trunk so they sit neatly.
- Check that the hanging loop is secure.
If the edges curl slightly, lightly steam-block the ornament only if your yarn fiber allows it, following the yarn manufacturer’s care instructions. Avoid placing a hot iron directly on acrylic yarn.
Creative Ways to Customize Your Crochet Christmas Tree
One of the nicest things about making your own crochet Christmas decorations is that you can adapt them to your personal style.
1. Traditional Christmas Colors
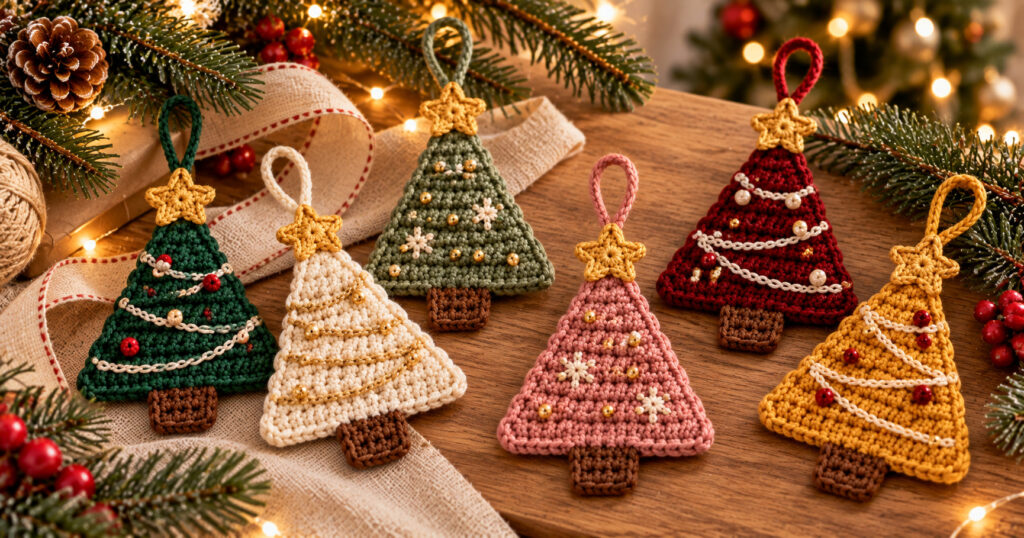
Use forest green for the tree, brown for the trunk, and gold for the star. Add a few small red embroidered accents for a classic festive appearance.
2. Minimalist Scandinavian Style
Try cream, beige, or soft gray yarn with a natural cotton hanging loop. Keep the decoration simple for a clean, understated look.
3. Colorful Mini Ornaments
Make a small collection in dusty pink, burgundy, mustard, and sage green. These colors work beautifully together on a coordinated Christmas tree.
4. Personalized Gift Toppers
Attach a small paper gift tag to the hanging loop when using the ornament as a present decoration. The recipient can then reuse it on their own tree.
Troubleshooting Tips
Why does my tree look uneven?
Count your stitches after every row. Uneven decreases or accidentally skipping stitches can change the shape. Using a stitch marker at the start of a row may help.
Why are the edges curling?
Your tension may be too tight. Try relaxing your stitches or using a slightly larger hook. A gentle blocking treatment appropriate for your yarn may also help.
Can I make the ornament larger?
Yes. Use thicker yarn and a larger hook, or begin with a wider foundation chain and adjust the decrease rows accordingly.
Can I make it without a star?
Absolutely. A small bow, embroidered snowflake, or simple hanging loop can work just as well.
Related : Easy Crochet Sunflower Keychain Pattern for Beginners
Frequently Asked Questions
Is this crochet Christmas tree ornament suitable for beginners?
Yes. The tree uses basic single crochet stitches and decreases. Beginners should take their time with stitch counting and the small decorative details.
How much yarn do I need?
Only a small amount of green yarn, plus scraps of brown and gold. Exact yardage will depend on your yarn weight, hook size, and tension.
Can I sell finished crochet Christmas tree ornaments?
You can generally sell handmade items you create, subject to applicable laws and any pattern-specific terms. If you use someone else’s pattern, check the designer’s conditions before selling finished items.
How should I store crochet Christmas ornaments?
Store them in a dry container away from direct sunlight, moisture, and sharp objects. Keeping each ornament in a small fabric pouch can help protect the stitches between holiday seasons.
Are these ornaments suitable for young children?
Decorative stars, small embellishments, and hanging loops may pose choking or entanglement risks. Keep ornaments out of reach of young children and never leave loose small parts accessible to them.
Final Thoughts
Making your own crochet Christmas tree ornaments is a lovely way to add something personal to your holiday decorations. With a little green yarn, a crochet hook, and a few colorful scraps, you can create a collection of handmade trees for your home, gifts, or seasonal craft displays.
Try different colors, experiment with simple embellishments, and enjoy making each ornament your own.
Happy crocheting, and may your holiday season be full of creativity and handmade joy!