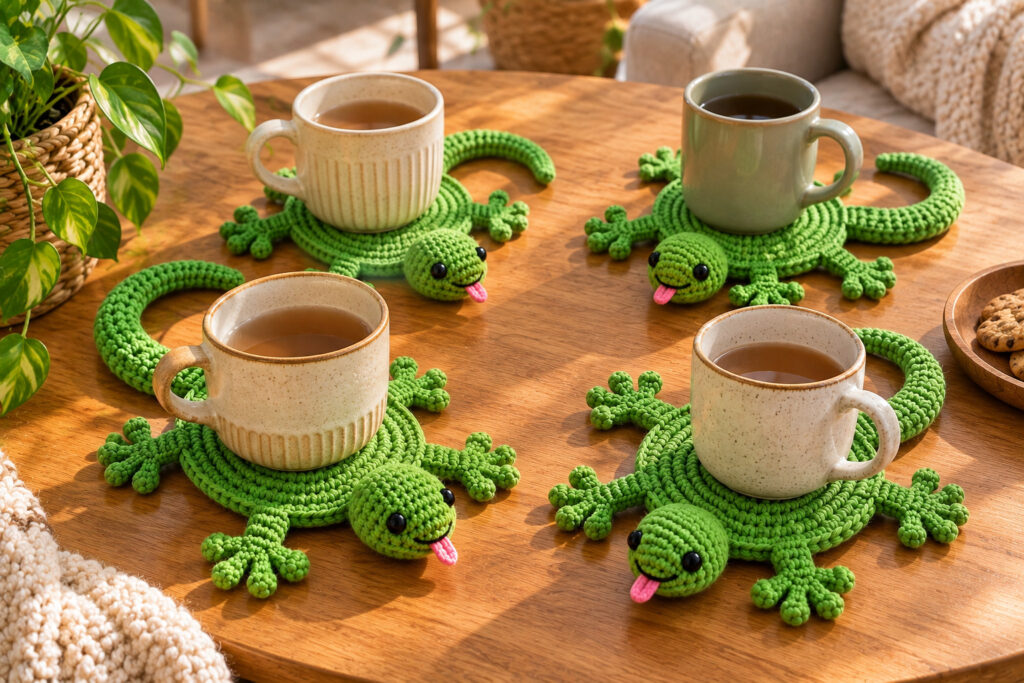
If you enjoy crochet projects that are both useful and a little bit unusual, this cute lizard coaster is a fun one to try.
Instead of making a traditional round coaster, you can turn a simple crochet project into a playful little lizard that adds personality to your coffee table, desk, or kitchen.
The finished piece can also make a lovely handmade gift for someone who enjoys reptiles, colorful crochet, or unique home accessories.
READ ON: This project is designed as an original decorative crochet concept. The instructions below are written from scratch and are not copied from another pattern.
What You’ll Need
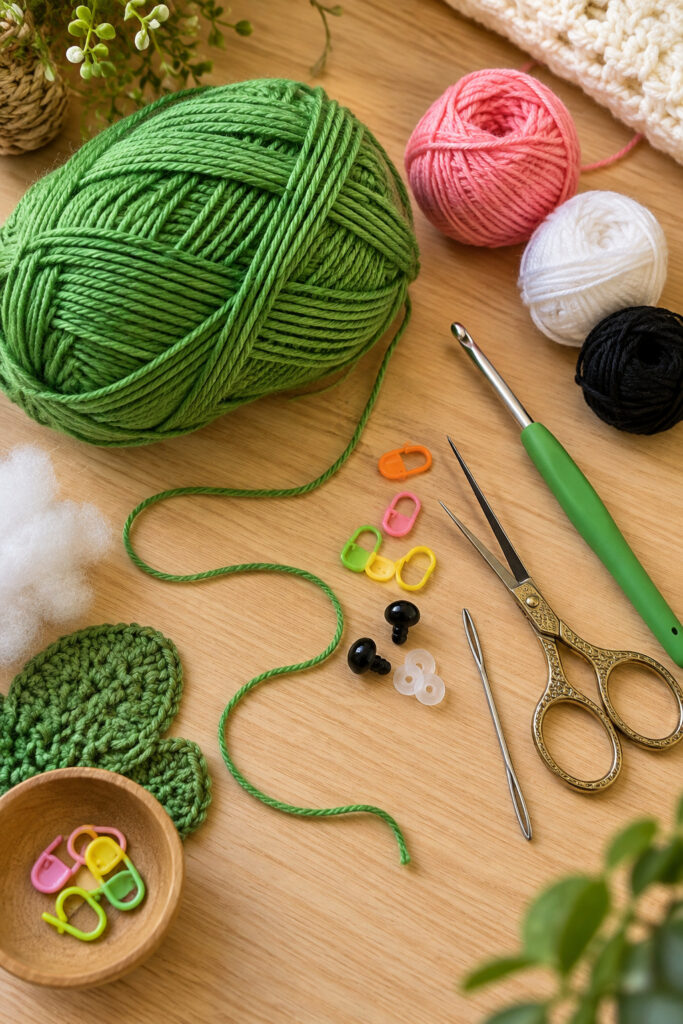
For this project, gather:
- Green worsted-weight yarn
- A small amount of pink or red yarn
- A small amount of white or black yarn for the eyes
- Crochet hook suitable for your yarn
- Yarn needle
- Scissors
- Stitch marker
- Optional fabric glue for small decorative details
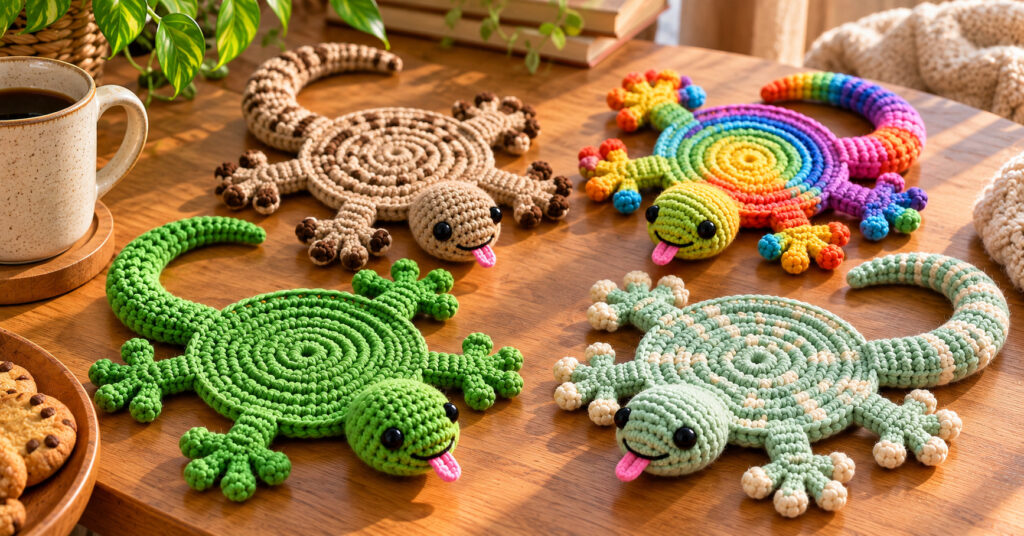
You can also experiment with different colors. A bright green lizard looks fun and tropical, while olive, brown, or pastel shades can give the coaster a completely different personality.
Choosing Your Yarn and Hook
A medium-weight cotton yarn is a great choice for a coaster because it creates a firm fabric and is relatively easy to wash.
Cotton also holds its shape better than very soft acrylic yarn, which can make the finished coaster look cleaner.
Choose a hook that gives you a reasonably tight stitch. You don’t want the fabric to be too loose because a coaster should have enough structure to sit flat underneath a glass or cup.
Related : 4 Easy Granny Square Crochet Patterns for Beginners
Basic Crochet Skills You’ll Need
This project is suitable for crocheters who already know a few basic stitches.
You should be comfortable with:
- Chain stitch
- Single crochet
- Slip stitch
- Increasing
- Working in rounds
- Joining crochet pieces
- Basic sewing with a yarn needle
If you’re still learning crochet, don’t worry. The individual parts are fairly simple, and you can work through them one section at a time.
How to Make the Lizard Body
The body is the main part of the coaster.
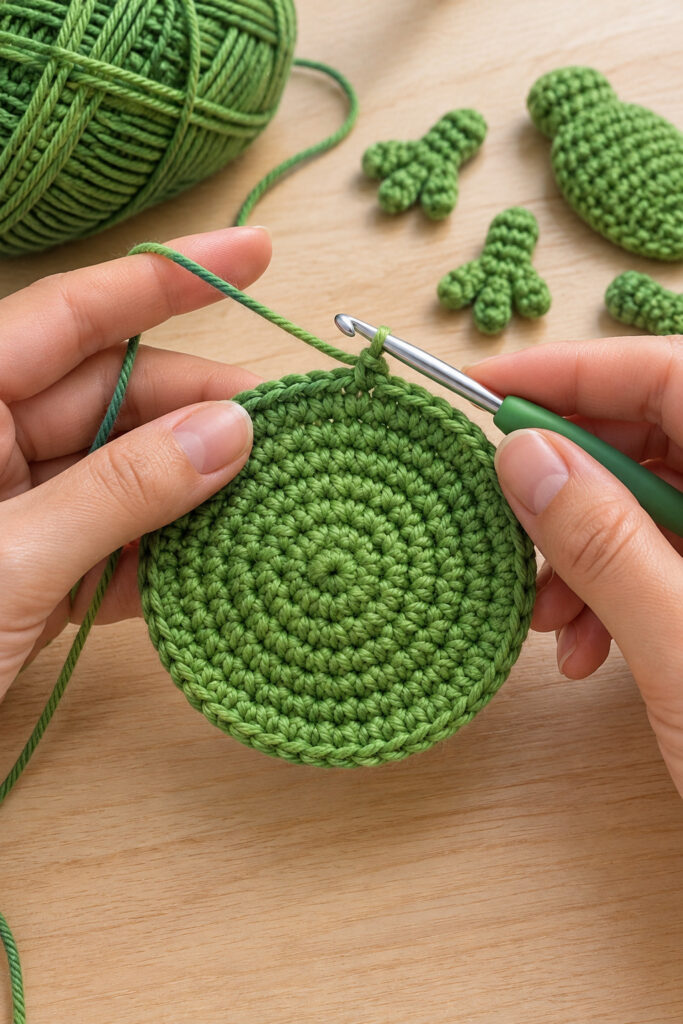
Start with a small center ring and work single crochet stitches around it. Increase gradually as you continue so the piece expands outward.
Keep checking your work as you go. The goal is to create a compact, flat shape rather than a loose or heavily curled circle.
Once the body reaches the size you want, finish the round and secure the yarn.
For a coaster, a finished body of approximately 4–5 inches works well, but you can make yours larger or smaller depending on the yarn and hook you’re using.
Creating the Head
The head gives the little lizard its personality.
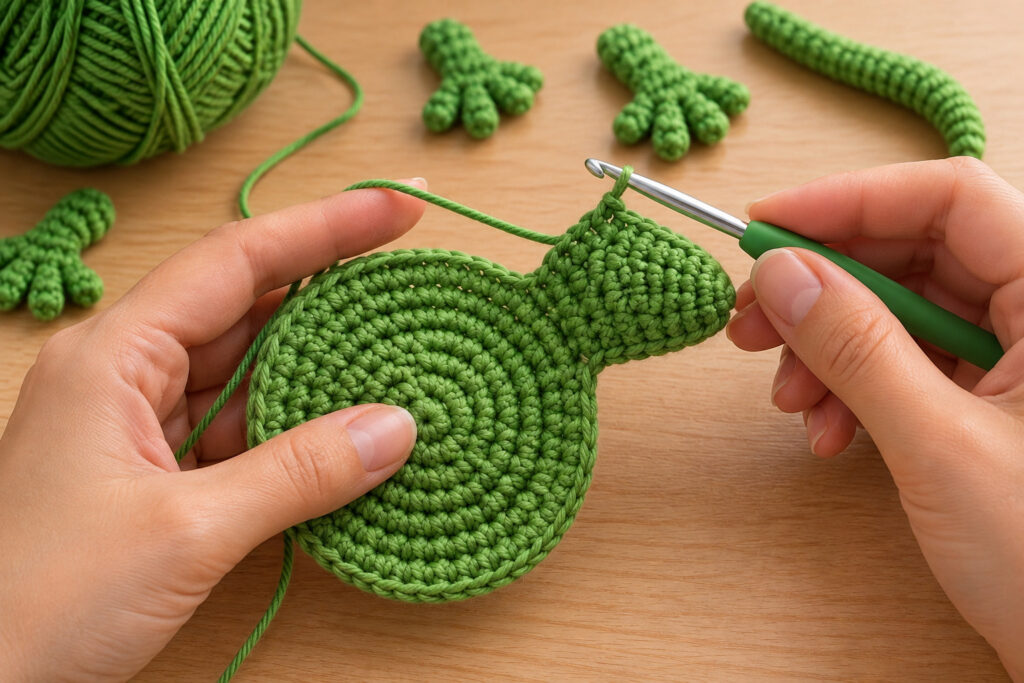
Make a slightly wider crochet section at one end of the body. You can create a rounded head by adding a few increases and then working several regular stitches before finishing.
Don’t make the head too thick. Remember that this is meant to remain a coaster rather than becoming a stuffed animal.
Once the head is attached or worked into the body, gently flatten the piece and check that it sits comfortably on a table.
Adding the Four Little Legs
Now comes the fun part.
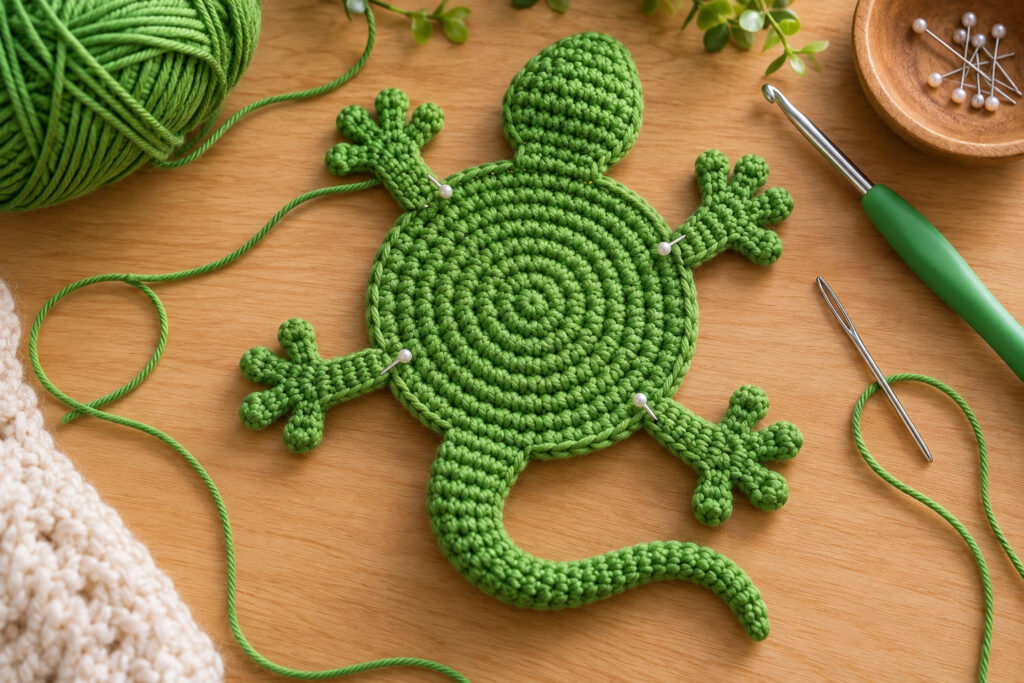
Instead of making complicated legs, create four small crocheted shapes and attach them around the body.
Try to position two legs toward the front and two toward the back. Keep them relatively flat so they don’t make the coaster wobble when you place a cup on it.
You can make the legs slightly pointed at the ends for a more lizard-like appearance.
Take a moment to check the symmetry before sewing everything permanently into place.
Making the Tail
The tail is what really makes the design recognizable.
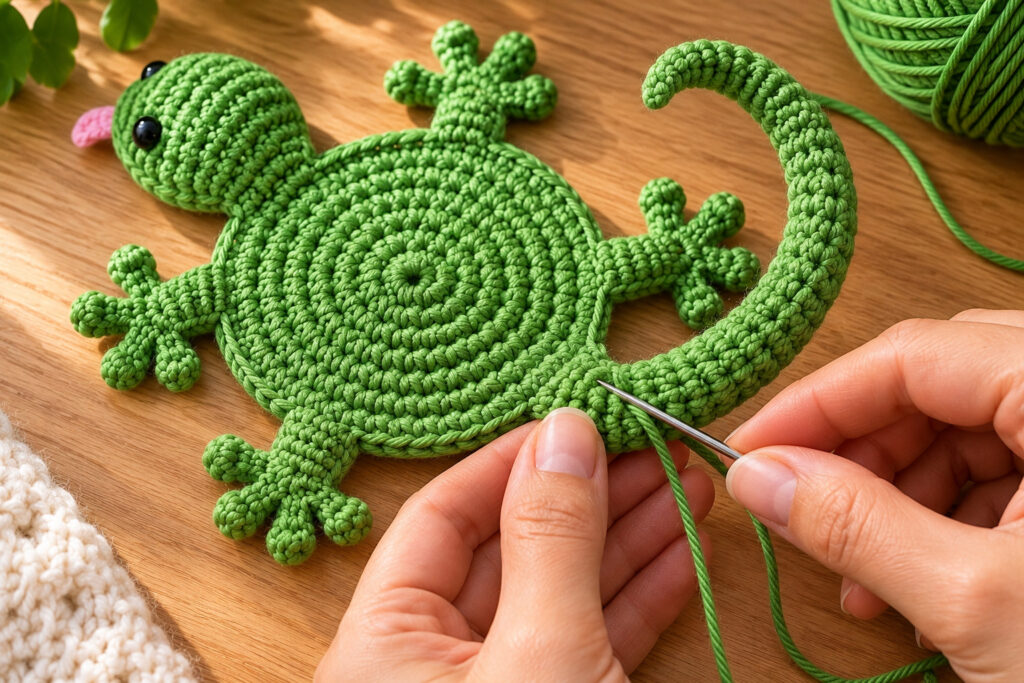
Create a long, narrow crocheted strip that gradually becomes thinner toward the end. You can slightly curve it while attaching it to the body to give the lizard a more natural pose.
A gently curved tail usually looks more playful than a completely straight one.
Sew the wider end securely to the back of the body and weave the loose yarn ends neatly into the stitches.
Adding the Face
Small details can completely change the personality of your crochet lizard.
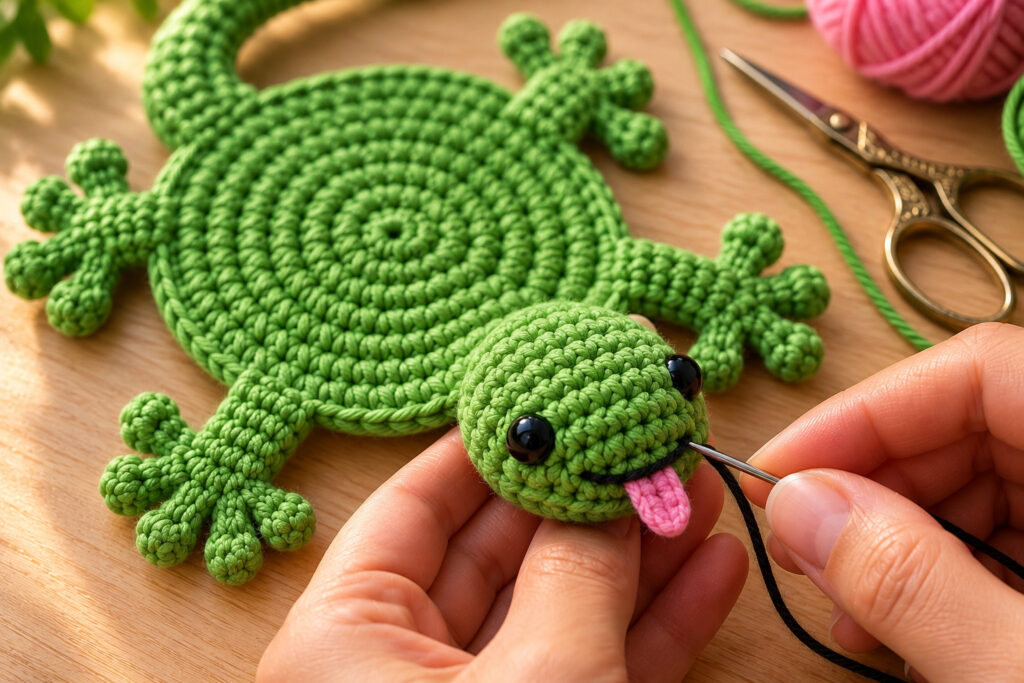
For the eyes, you can use small safety eyes if appropriate, or embroider them using black yarn.
Add a tiny mouth using black embroidery thread. A small pink tongue can also be added for a playful look.
If you’re making the coaster for a young child, avoid loose safety eyes and other small pieces that could become a choking hazard.
Final Assembly
Before finishing your coaster, place all the pieces on a flat surface.
Check that:
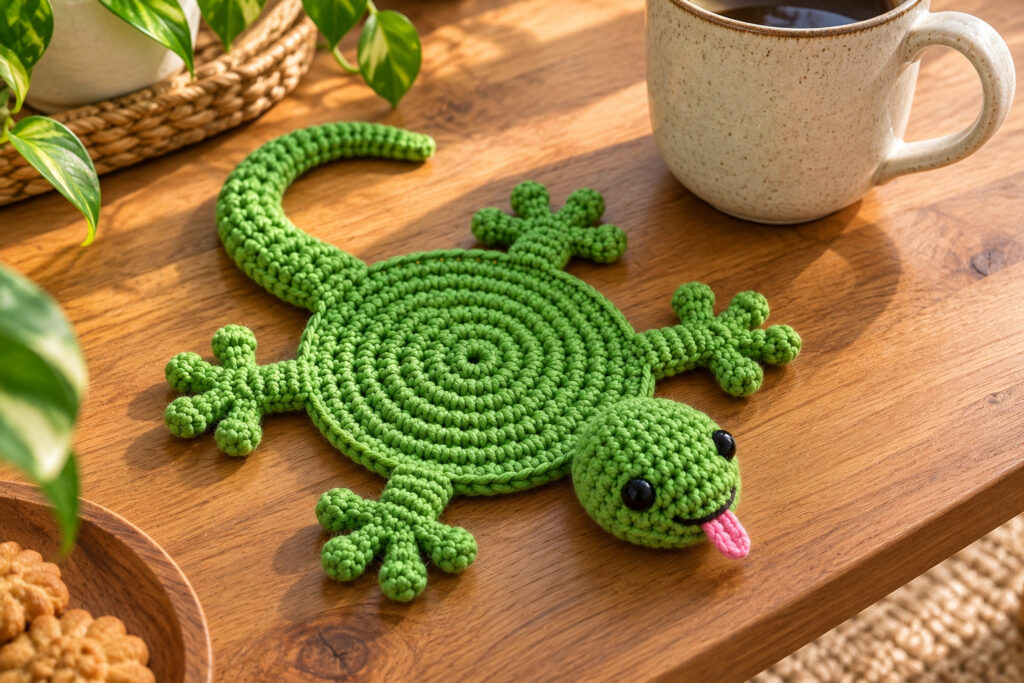
- The body lies flat.
- The head is securely attached.
- The four legs are balanced.
- The tail is firmly sewn.
- The face details are secure.
- There are no long loose yarn ends.
Once everything looks right, weave in the remaining ends and trim any excess yarn.
Related : Crochet Jellyfish Pattern: Easy Amigurumi for Beginners
Give the coaster a gentle press with your hands to help it settle into shape.
Easy Ways to Customize Your Lizard
One of the best things about making crochet decorations yourself is that you don’t have to follow one color scheme.
Try creating:
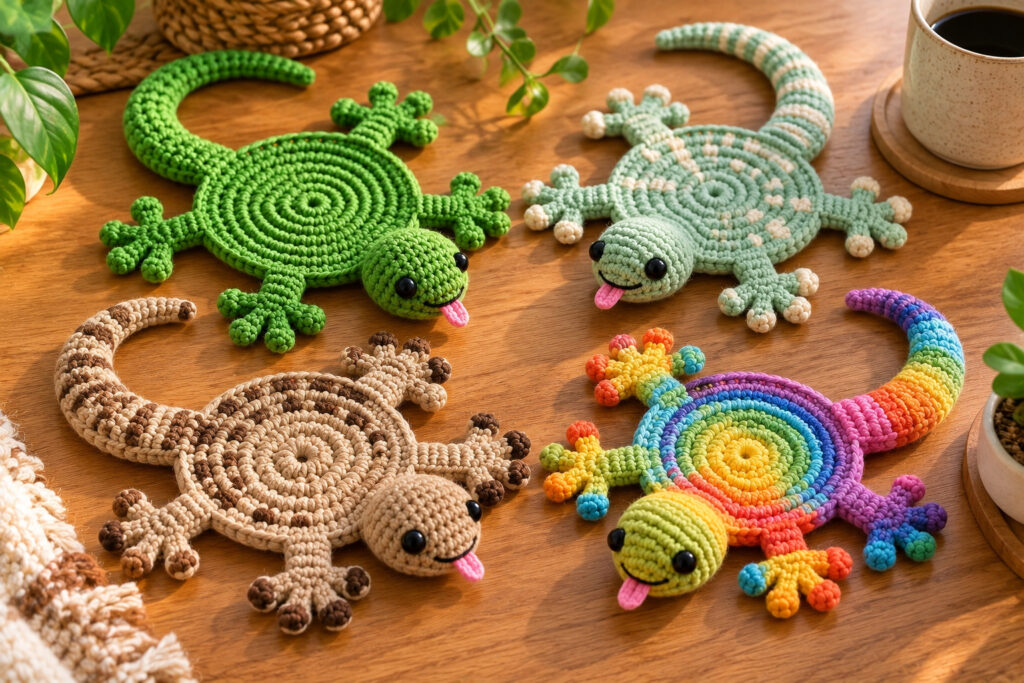
Tropical Green Lizard
Use bright green yarn with darker green details.
Desert Lizard
Try sandy beige, brown, and cream.
Cute Pastel Lizard
Use mint green, lavender, pale pink, or baby blue.
Rainbow Lizard
Give the body and legs different bright colors for a fun children’s room accessory.
You could even make several different colors and use them as a matching coaster set.
Why This Crochet Project Is Worth Trying
This little project is more than just a coaster.
It’s a great way to practice shaping, joining small crochet pieces, working in rounds, and adding decorative details without committing to a huge project.
It’s also small enough to finish relatively quickly, making it a good weekend crochet project.
And because each lizard can have a different color and personality, you can easily create a whole collection.
Final Thoughts
If you’re tired of making the same traditional round crochet coasters, why not try something with a little more personality?
A crochet lizard coaster is a fun combination of practical home decor and creative handmade art. Once you’ve made one, you can experiment with different colors, facial expressions, and tail shapes to create your own collection.
Sometimes the smallest crochet projects are the ones that end up getting the most attention.